Prepare for Breastfeeding: 9 Simple Steps to Feel Ready Before Baby Arrives

If you are wondering how to prepare for breastfeeding before baby arrives, you are asking the right question at the right time. Nobody hands you a manual in the delivery room, and the first week with a newborn is the wrong moment to start learning how feeding works. A little preparation now makes those first feeds calmer and much less tearful.
These 9 simple steps to prepare for breastfeeding are the ones I wish someone had handed me before my first baby. They cover what to learn, who to line up, what to buy, and what to skip. Nothing here needs a big budget. Start in your second trimester, do one step a week, and by the time your bag is packed you will feel ready, not just hopeful.
One honest note: breastfeeding is natural, but it is not always easy at first. It is a skill you and your baby learn together, and asking for help is part of the plan, not a sign the plan failed. If anything here does not fit your body or your birth, your doctor, midwife, or lactation consultant is the person to ask, not a blog post.
Heads up: this post contains affiliate links. If you buy through them, MamaKinder may earn a small commission at no extra cost to you, and it helps keep these guides free.

Learn the Basics First
The first three steps are all learning: how milk is made, what the first week looks like, and how a good latch feels.
1. Take a prenatal breastfeeding class. This is the single highest-yield thing on this list, and it is the step most moms skip. A good class teaches you how to hold your baby, how to get a deep latch, how to spot early hunger cues, and how to tell whether your baby is actually getting milk. Look for a class that covers positioning and latch, feeding cues, how often a newborn feeds, and what to do when it hurts, because pain is a signal to fix, not something to suffer through. Take it with your partner if you can, so the person beside you at 2 AM already knows what a good latch looks like. Most hospitals offer classes in person or online, and many are free or covered by insurance. Aim to finish by week 34.

2. Learn how milk works and what the first week really looks like. Your body starts making colostrum, the thick golden first milk, around 16 to 20 weeks of pregnancy. Some moms notice a few drops leaking in the third trimester, and some notice nothing at all. Both are normal, and leaking or not leaking tells you nothing about later supply. After birth, your baby gets colostrum first, in tiny amounts that match a newborn’s tiny stomach, and your mature milk usually comes in around day three to five. Expect 8 to 12 feeds in 24 hours in those early days, often in clusters in the evening. Learn the early hunger cues now, stirring, rooting, and hands to mouth, because crying is a late cue and a crying baby is much harder to latch. Knowing this timeline keeps you from panicking on day two, when the feeds feel endless and your breasts still feel soft. They are supposed to feel soft.

3. Practice the holds and the latch before birth. You cannot practice on a real baby before yours arrives, but you can practice the mechanics. Sit in your nursing chair with a doll or a rolled-up towel and try the three holds you will use most: cross-cradle, with the baby across your front; football hold, with the baby tucked under your arm, which is kind on a sore belly after a cesarean; and side-lying, which lets you feed while you rest. A nursing pillow lifts your baby to breast height so your arms stop aching. The Boppy Original Nursing Pillow has firm fiber fill and a removable cover you can machine wash. For the latch itself, picture a wide-open mouth, lips flanged out, taking in a big mouthful of breast, not just the nipple. Feeding should not hurt beyond the first few seconds. If it does, the latch needs adjusting.

Boppy Original Nursing Pillow
Firm fiber fill nursing pillow with a removable, machine-washable cover. Lifts baby to breast height for comfortable positioning during nursing and bottle feeding.

Line Up Your People
Breastfeeding looks like a solo job, and it is not. The moms who meet their feeding goals usually had help lined up before the baby arrived. These two steps take one afternoon each.
4. Find your lactation consultant now and save the number. An IBCLC, an International Board Certified Lactation Consultant, is the specialist who watches one feed and spots what is wrong with the latch, the position, or the timing. Find yours before the baby arrives, while you can still interview calmly. Ask your OB or midwife for names, ask the hospital when their lactation help is available, and check whether your insurance covers visits, because many plans do, including telehealth. Save the number in your phone under a name you will find at 3 AM, and save your pediatrician’s number beside it. Ask your pediatrician’s office one question before you choose them: are they supportive of breastfeeding, and do they have an IBCLC to refer you to if a problem comes up. Write both numbers on the printable checklist at the end of this guide, and stick it on the fridge.

5. Put feeding in your birth plan and give your partner a job. Your birth plan is not just about the birth, it is about the first hour after it. Write down that you want skin-to-skin contact with your baby right away, and your first feed within the hour if you and the baby are both well. That first hour, often called the golden hour, is when your baby is most alert and ready to feed, and skin-to-skin helps your milk come in and keeps your baby calm. Tell your partner what their job is during feeds, because “support me” is too vague to act on at 2 AM. Their jobs are concrete: bring water and a snack before you sit down, hand you the pillow, burp the baby when a feed ends, change the diaper so you can rest, and tell visitors you are feeding. Also agree on one rule for visitors in the first two weeks: nobody holds the baby during a feed unless you ask them to. Your partner is your gatekeeper.

Gather Your Gear
You do not need much to breastfeed. Your body does the real work. But a small set of supplies, bought and washed before the due date, removes a dozen small frictions from the first week.
6. Buy the comfort basics: bras, pads, lanolin, and a therapy pack. Start with three nursing bras, so one is on you, one is in the wash, and one is clean. Buy them in the third trimester, when your size has mostly settled, and choose wire-free styles with clips you can open one-handed. The iLoveSIA 3PACK Nursing and Pumping Bra covers both jobs: the clips drop down for nursing, and it holds pump flanges hands-free. Next, nursing pads for the leaks, which are heaviest in the first weeks. Lansinoh Stay Dry Disposable Nursing Pads, 100 Count absorb 20 times their weight and sit thin under any bra. For sore nipples, lanolin is the classic first line. Lansinoh Lanolin Nipple Cream, 1.41 oz, Pack of 2 is 100 percent natural lanolin, with no need to remove it before breastfeeding. Finally, a therapy pack for the hard days. The Lansinoh TheraPearl 3-in-1 Hot or Cold Breast Therapy Pack with Cover, 2 Count works chilled for engorgement and sore nipples, and warmed in the microwave to help milk flow before a feed. Put the lanolin and one therapy pack in your hospital bag.

iLoveSIA 3PACK Nursing and Pumping Bra
Wire-free nursing and pumping bra with one-handed clips. Drops down for nursing and holds pump flanges hands-free. Three-pack covers the wear, wash, and clean rotation.

Lansinoh Stay Dry Disposable Nursing Pads, 100 Count
Disposable nursing pads that absorb 20 times their weight. Individually wrapped for your bag, thin and discreet under any bra.
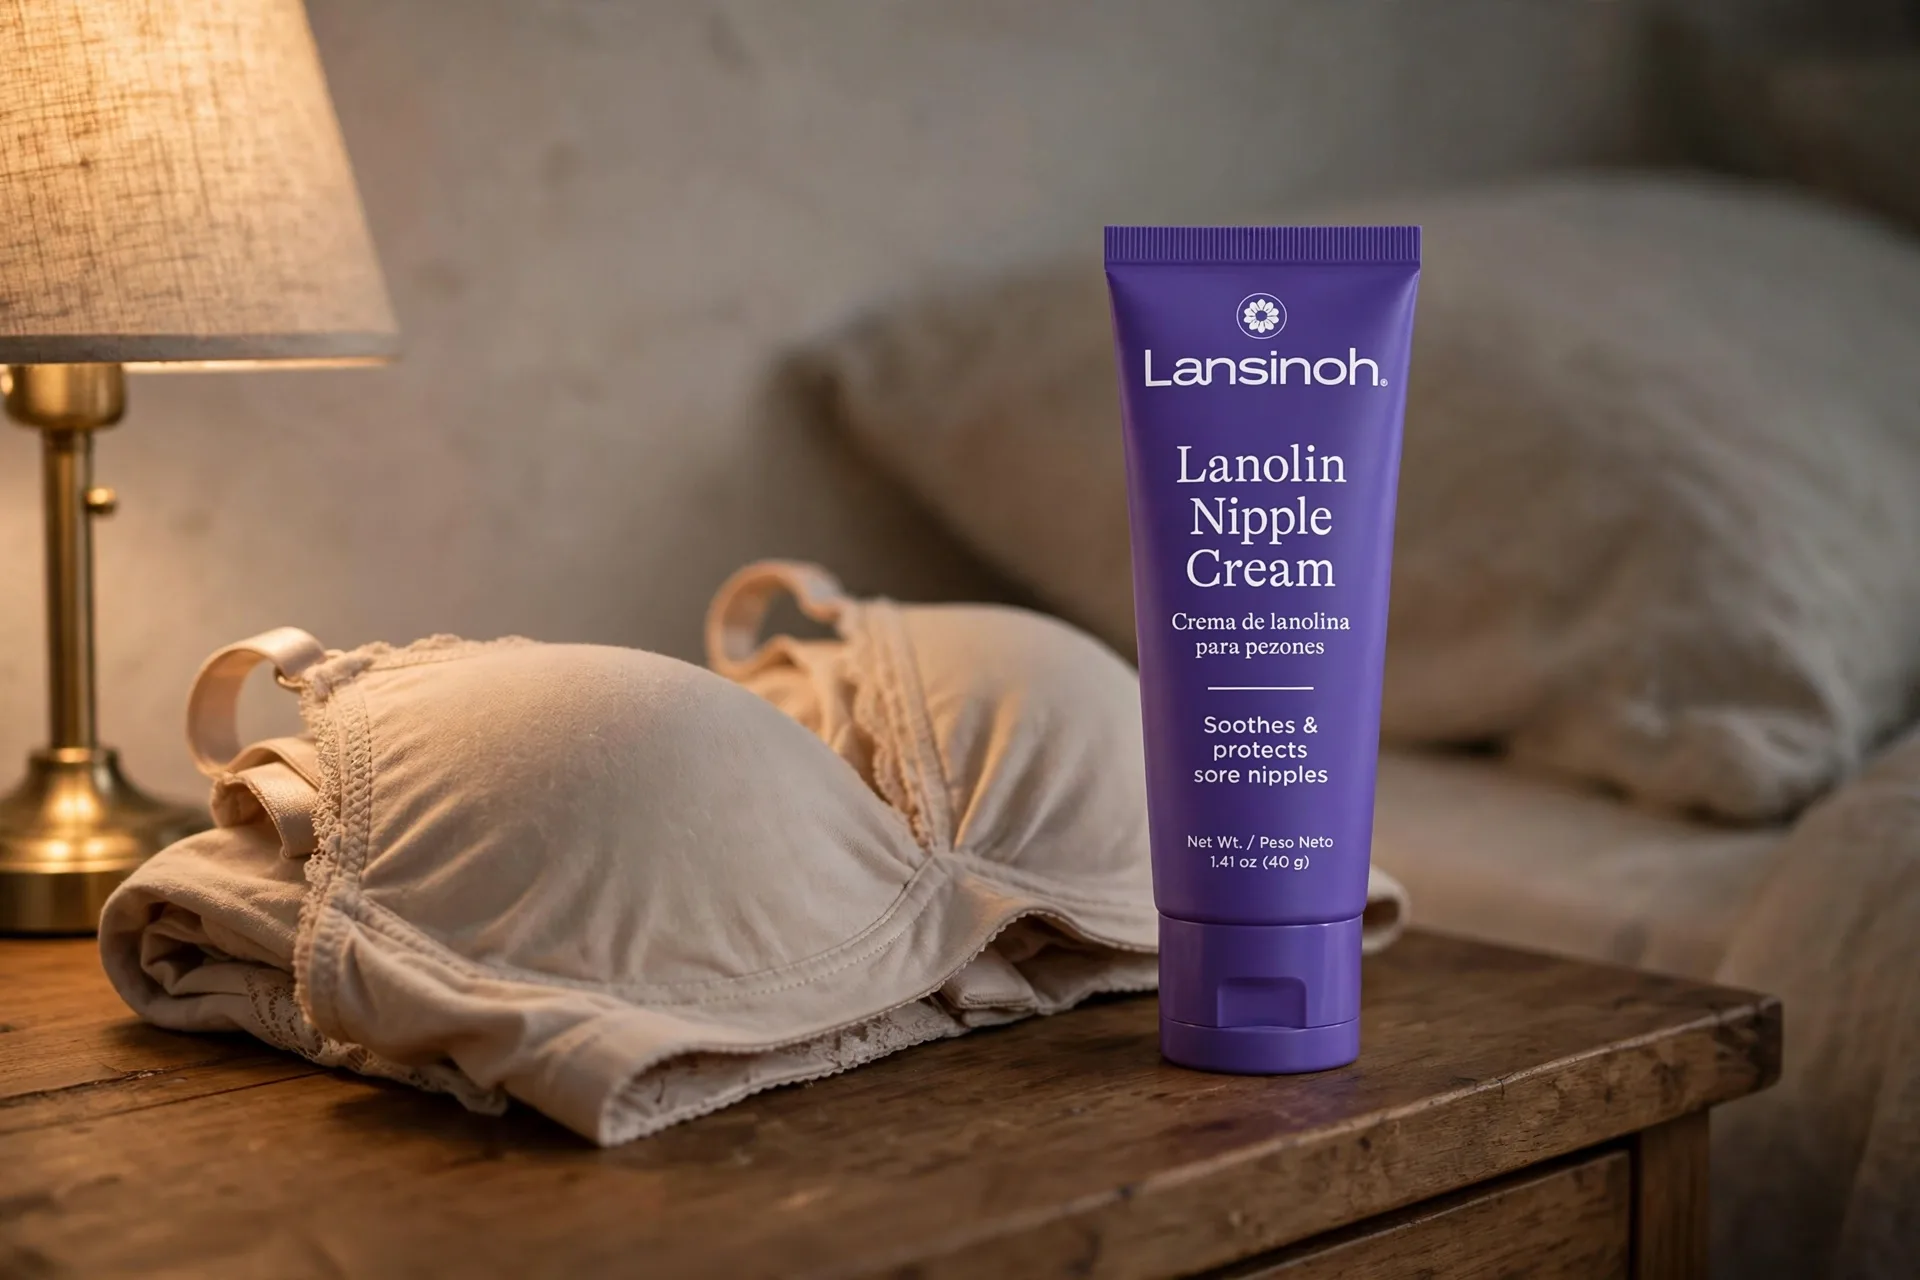
Lansinoh Lanolin Nipple Cream, 1.41 oz, Pack of 2
100 percent natural, ultra-purified lanolin for sore nipples. No need to remove before breastfeeding, and safe for mom and baby.

Lansinoh TheraPearl 3-in-1 Hot or Cold Breast Therapy Pack, 2 Count
Hot or cold therapy for engorgement, plugged ducts, and sore nipples. Chill for cold relief or warm in the microwave for heat, with a soft cover included. Snaps onto a pump.

7. Sort your breast pump before the due date. If you plan to pump at all, whether for work, for a stash, or for the occasional bottle, sort the pump now, not after the baby arrives. Under many US insurance plans, a double electric breast pump is covered, so check your plan first and file the paperwork in your second trimester. The Spectra S1 Plus Electric Breast Pump is the lactation consultants’ first pick: rechargeable, with up to 270 mmHg suction and 24mm and 28mm flanges in the box. Learn the parts before birth, wash and sterilize them, and know which flange size fits you. Do not pump before birth unless your own clinician asked you to, since nipple stimulation can trigger contractions. Have two small things ready for after birth: a silicone collector for the let-down on the other side, and storage bags for whatever you collect. The haakaa Silicone Breast Pump and Silicone Cap, 5 oz, Gen. 2 is one piece of food-grade silicone that catches let-down while your baby nurses on the other side, and it sterilizes by boiling. Lansinoh Breastmilk Storage Bags, 100 Count hold 6 oz each, freeze flat, and thaw fast. For cleaning on the go, keep Medela Quick Clean Wipes, 1 Pack of 30 in your pump bag, plant-based wipes for pump parts when you cannot wash them right away.

Spectra S1 Plus Electric Breast Pump
Rechargeable double electric pump with up to 270 mmHg suction, adjustable suction in let-down and expression modes, a night light, and a timer. Includes 24mm and 28mm flanges, bottles, backflow protectors, and tubing.

haakaa Silicone Breast Pump and Silicone Cap, 5 oz, Gen. 2
Single-piece food-grade silicone collector that uses natural suction to catch let-down from the breast your baby is not feeding on. Holds 5 oz, sterilizes by boiling.

Lansinoh Breastmilk Storage Bags, 100 Count
6 oz breastmilk storage bags with a double zipper seal. Freeze flat for easy stacking and fast thawing. Pump straight into them from a Lansinoh pump.

Medela Quick Clean Wipes, 1 Pack of 30
Plant-based wipes for on-the-go cleaning of breast pumps, accessories, and surfaces. Resealable pack for your pump bag.

Set Up Your Space and Your Bag
You will spend hours a day in your feeding spot, so set it up before the baby arrives. Pick the chair, fill the basket, pack the bag, and then stop shopping.
8. Build your nursing station and pack the hospital bag. Choose one chair, ideally with arms, and claim it as your feeding spot. Put a small table beside it and stock it with everything you will reach for mid-feed: a big water bottle, because thirst hits hard during let-down; a few burp cloths; and your phone charger. The Hydro Flask 32 Oz Wide Mouth Flex Straw Cap is an insulated stainless steel bottle, 32 oz, that keeps drinks cold for hours, is leak-proof and dishwasher safe. Comfy Cubs Muslin Burp Cloths, 20 x 10 Inches, Pack of 10, White are 20 by 10 inches with 6 layers of cotton, so one cloth handles a whole feed. For the hospital bag, pack light but smart: one nursing bra and a few pads, the lanolin, one therapy pack, a nursing cover for visitors and the hallway, and soft clothes you can feed in. The Bebe au Lait 5-in-1 Multi-Use Cover works as a nursing cover, an infinity scarf, a car seat cover, and a shopping cart cover. The Ekouaer 3 Piece Postpartum Nursing Pajamas Set is a short-sleeve breastfeeding top with shorts and pants, made for easy access and soft enough to sleep in. Pack the bag by week 36. The table below is your packing list.

Hydro Flask 32 Oz Wide Mouth Flex Straw Cap
Insulated stainless steel water bottle with a wide mouth flex straw cap, 32 oz capacity. Keeps drinks cold for hours, leak-proof, dishwasher safe, and fits in a cup holder.
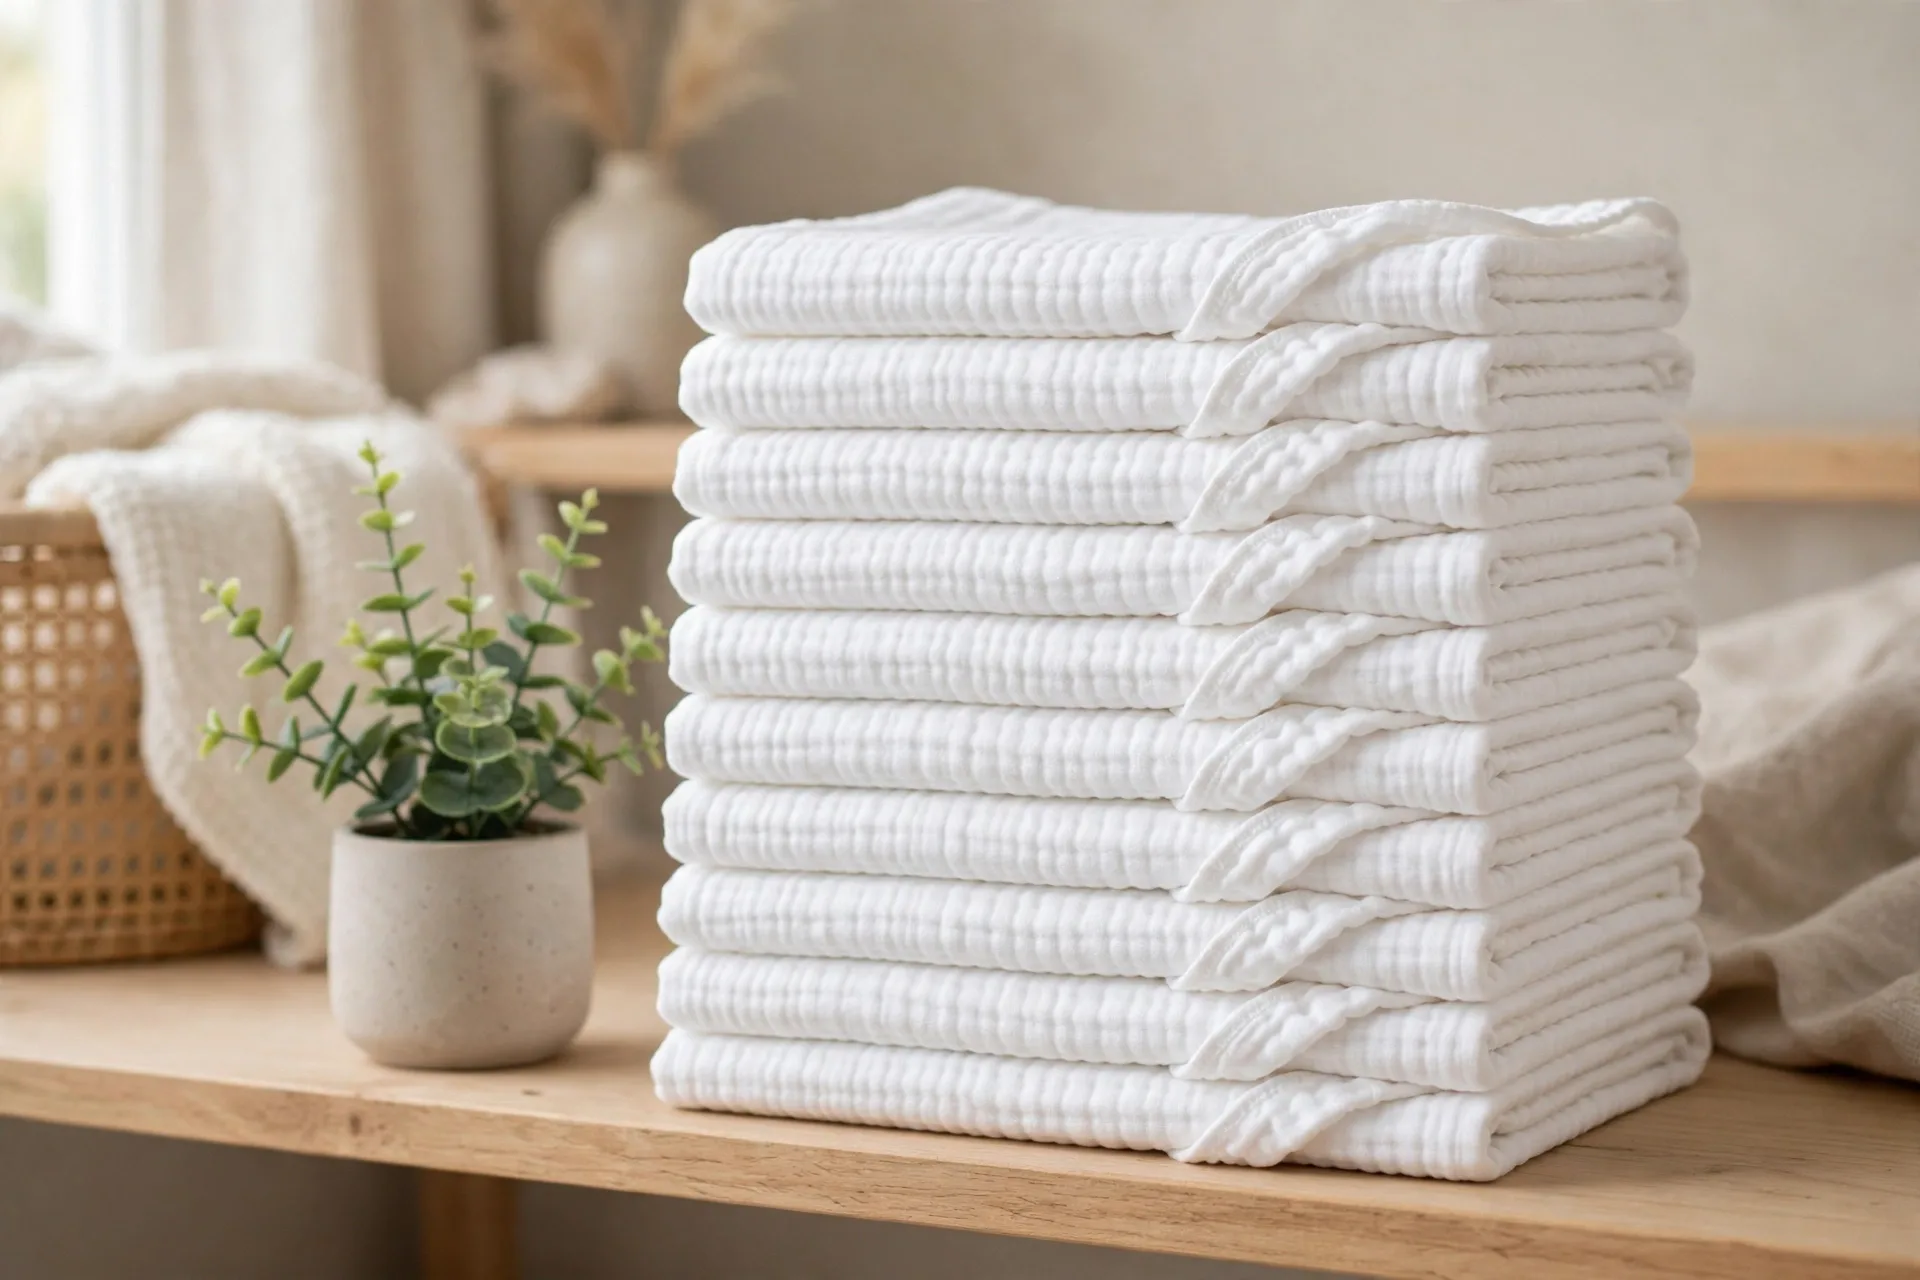
Comfy Cubs Muslin Burp Cloths, 20 x 10 Inches, Pack of 10, White
Large 20 by 10 inch muslin burp cloths with 6 layers of 100 percent cotton. Absorbent enough for a whole feed, soft enough for baby’s skin.

Bebe au Lait 5-in-1 Multi-Use Cover
Multi-use nursing cover that also works as an infinity scarf, car seat cover, shopping cart cover, and carrier cover. One cover for nursing at home and out.
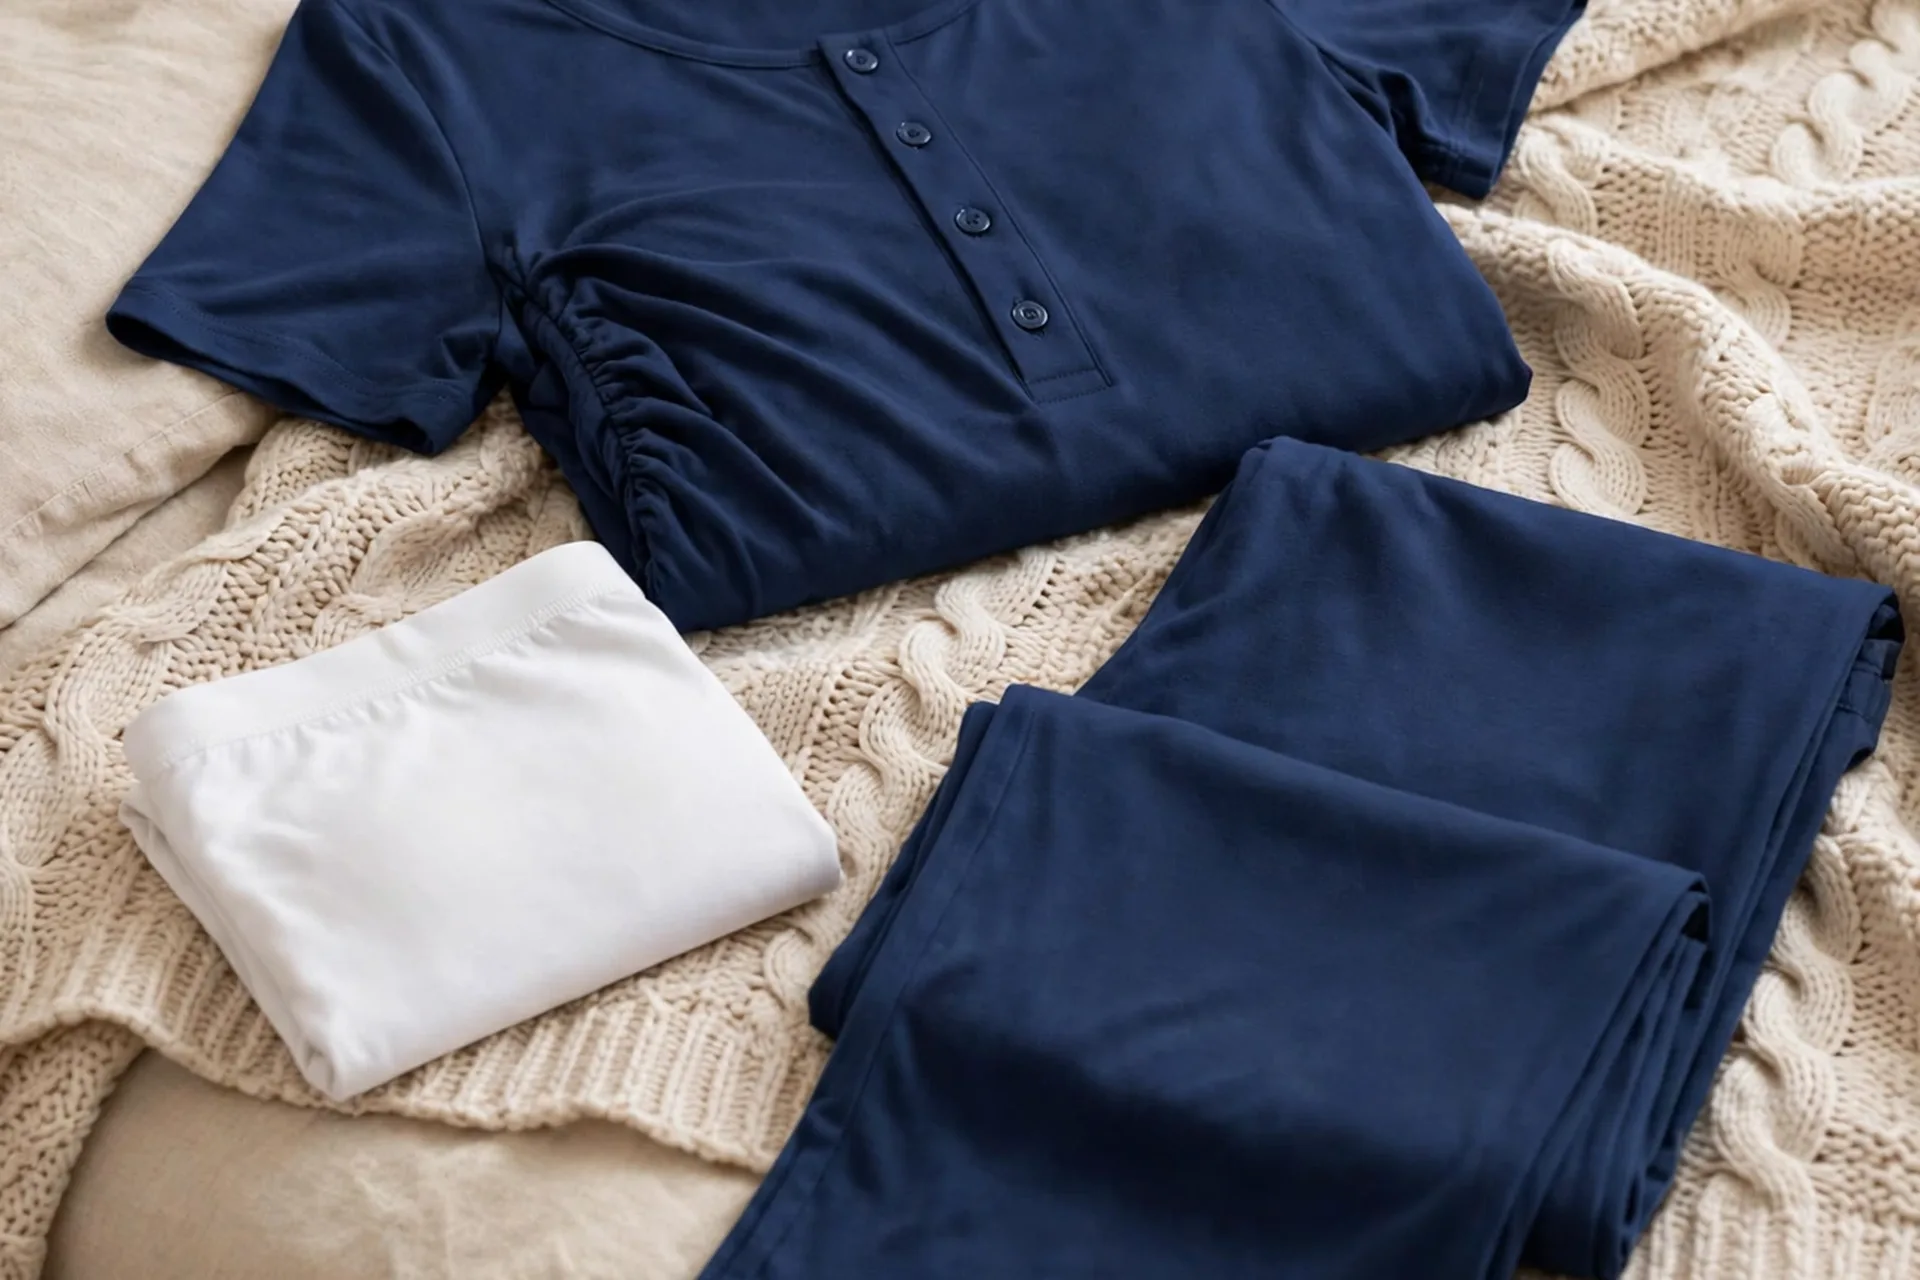
Ekouaer 3 Piece Postpartum Nursing Pajamas Set
Short-sleeve breastfeeding top with shorts and pants, made for easy nursing access and soft enough to sleep in. Maternity pajamas for the hospital and the first weeks home.

| What to pack | Why it goes in the bag |
|---|---|
| 1 nursing bra + a few nursing pads | Comfort and leak control in the hospital |
| Lanolin nipple cream | Soothe friction from the very first feeds |
| 1 TheraPearl therapy pack | Cold relief for soreness, warm help for flow |
| Nursing cover | Privacy with visitors and in the hallway |
| Nursing pajamas | Soft, easy-access clothes for feeds and sleep |
| Phone list: IBCLC, pediatrician | Quick access for questions at 3 AM |
| Water bottle and snacks | Hydration and energy during frequent feeds |
Prepare Your Body and Your Mind
The last step is the one nobody talks about: your body is already preparing. Your job is to let it, learn one hands-on skill, and ignore the old advice that does more harm than good.
9. Learn hand expression, and skip the myths. Hand expression is the one hands-on skill worth learning before birth, because it is how you collect colostrum, relieve fullness, and keep milk moving when a pump is not handy. Ask your class teacher or your lactation consultant to show you the technique, and practice the motion in the last weeks so your hands know it before you need it. Some clinicians suggest collecting a little colostrum after 37 weeks if there is a medical reason, such as a planned cesarean or an expected NICU stay. That is a clinician’s decision, not a DIY project, and you should only express before birth if your own OB or midwife asked you to, because nipple stimulation can trigger contractions. Now the myths to skip. Do not toughen your nipples with a towel, a brush, or harsh soap. That advice is outdated, and it can irritate the skin and even trigger contractions. Your nipples change on their own in pregnancy. Do not buy breast shells or nipple shields as homework, either. If you have flat or inverted nipples, ask your clinician to check them, because many babies still feed well, and a shield is a short-term tool your IBCLC fits for you, not something to figure out alone. And do not pump before birth to build a freezer stash. The milk your baby needs on day one is colostrum, in tiny amounts, and pumping it out early is not a proven way to raise later supply.

When to Start: A Trimester Timeline
| When | Do this |
|---|---|
| Second trimester (weeks 14-20) | Learn how milk works, find your IBCLC, check insurance for a pump |
| Third trimester (weeks 28-34) | Take the class, practice the holds, buy the basics, set up the station |
| Last weeks (weeks 35-40) | Pack the hospital bag, learn hand expression, write the birth plan, rest |
Your Free Breastfeeding Prep Checklist
Everything in this guide fits on one page. Print the checklist, tick each step off as you finish it, and write your IBCLC and pediatrician numbers at the bottom.
Download the Free Breastfeeding Prep Checklist (PDF)
Want the full planner? The Breastfeeding Prep Planner (coming soon)
The free checklist covers the 9 steps in this guide. The expanded Breastfeeding Prep Planner will carry a 4-week prep plan, a hospital bag list, a first-week feeding log, a pumping log, and a partner cheat sheet. It is the paid, expanded version of this free checklist. There is no buy link yet, because the planner is still being finished.
Shop This Post
| Product | What it is for | |
|---|---|---|
| Boppy Original Nursing Pillow | Practicing holds and comfortable feeds | Check Price on Amazon |
| iLoveSIA 3PACK Nursing and Pumping Bra | One-handed nursing and hands-free pumping | Check Price on Amazon |
| Lansinoh Stay Dry Nursing Pads, 100 Count | Catching leaks between feeds | Check Price on Amazon |
| Lansinoh Lanolin Nipple Cream | Soothing sore nipples | Check Price on Amazon |
| Lansinoh TheraPearl 3-in-1 Breast Therapy | Hot and cold relief for soreness and plugged ducts | Check Price on Amazon |
| Spectra S1 Plus Electric Breast Pump | Double electric pumping after birth | Check Price on Amazon |
| haakaa Silicone Breast Pump, 5 oz | Catching let-down from the other breast | Check Price on Amazon |
| Lansinoh Breastmilk Storage Bags, 100 Count | Freezer stash storage | Check Price on Amazon |
| Medela Quick Clean Wipes, 30 Count | Cleaning pump parts on the go | Check Price on Amazon |
| Hydro Flask 32 Oz Wide Mouth Bottle | Water at your nursing chair | Check Price on Amazon |
| Comfy Cubs Muslin Burp Cloths, Pack of 10 | Nursing station staple for every feed | Check Price on Amazon |
| Bebe au Lait 5-in-1 Multi-Use Cover | Nursing privacy at home and out | Check Price on Amazon |
| Ekouaer Postpartum Nursing Pajamas Set | Easy-access clothes for the hospital and home | Check Price on Amazon |
Frequently Asked Questions
When should I start preparing for breastfeeding? Light preparation can start in your second trimester, around 20 weeks, by learning how milk works and finding your lactation consultant. Take the class and buy the basics in your third trimester.
Do I need to prepare or toughen my nipples before breastfeeding? No. The idea of toughening nipples is outdated. Your nipples change on their own in pregnancy, and towel-rubbing or harsh soap can irritate the skin and even trigger contractions. Wash with plain water.
Should I pump before the baby is born? Most people should not pump before birth. Nipple stimulation can trigger contractions, so hand expression or colostrum collection before birth is a decision for your own OB or midwife, usually only after 37 weeks and only if there is a medical reason.
Can I breastfeed with flat or inverted nipples? Many moms with flat or inverted nipples still breastfeed. Skin-to-skin and a deep latch often help the tissue come forward. Only a clinician can confirm your nipple type.
What should I pack in my hospital bag for breastfeeding? One nursing bra and a few pads, lanolin nipple cream, one therapy pack, a nursing cover, soft nursing pajamas, your IBCLC and pediatrician numbers, and a water bottle with snacks.
Start With Three
Pick three to start: take the class, save your lactation consultant’s number, and print the checklist. Those three alone give you the knowledge, the help, and the plan. Add the pump paperwork next, then the bag.