Toddler Birthday Card for Mom: 7 Sweet Handmade Ideas

There is a particular kind of card a mom saves forever. It is not the beautiful one from the store. It is the slightly lumpy one with a tiny handprint in the middle, made by a person who is still learning what a handprint is. If your little one is somewhere between one and three, this is your year to make one.
A toddler birthday card for mom is the gift where the process IS the gift. Mom will remember the look on your toddler’s face when she stamped her own hand down and saw the flower appear. Every card below is designed around what a toddler can actually do: press, stamp, stick, and scribble. The grown-up handles everything else. Our kids birthday party ideas guide has the whole celebration side covered.
Heads up: this post contains affiliate links. If you buy through them, MamaKinder may earn a small commission at no extra cost to you, and it helps keep these guides free.
Pick the Card for the Afternoon You Have
| If you have… | Make this one |
|---|---|
| 15 minutes and paint already open | 1, the handprint flower bouquet |
| 10 minutes and zero paint tolerance | 6, the sticker rainbow card |
| A wiggly two-year-old with energy to burn | 3, the footprint heart card |
| A photo you want her to keep | 4, the photo pocket card |
| A craft-curious toddler who loves sticking things | 5, the googly-eye love bug |
| A rainy afternoon and no special supplies | 7, the tissue paper flower |
| Two cards in one sitting (one for grandma too) | 2, the thumbprint balloons |
The 7 Heart-Melting Cards
1. The Handprint Flower Bouquet Card
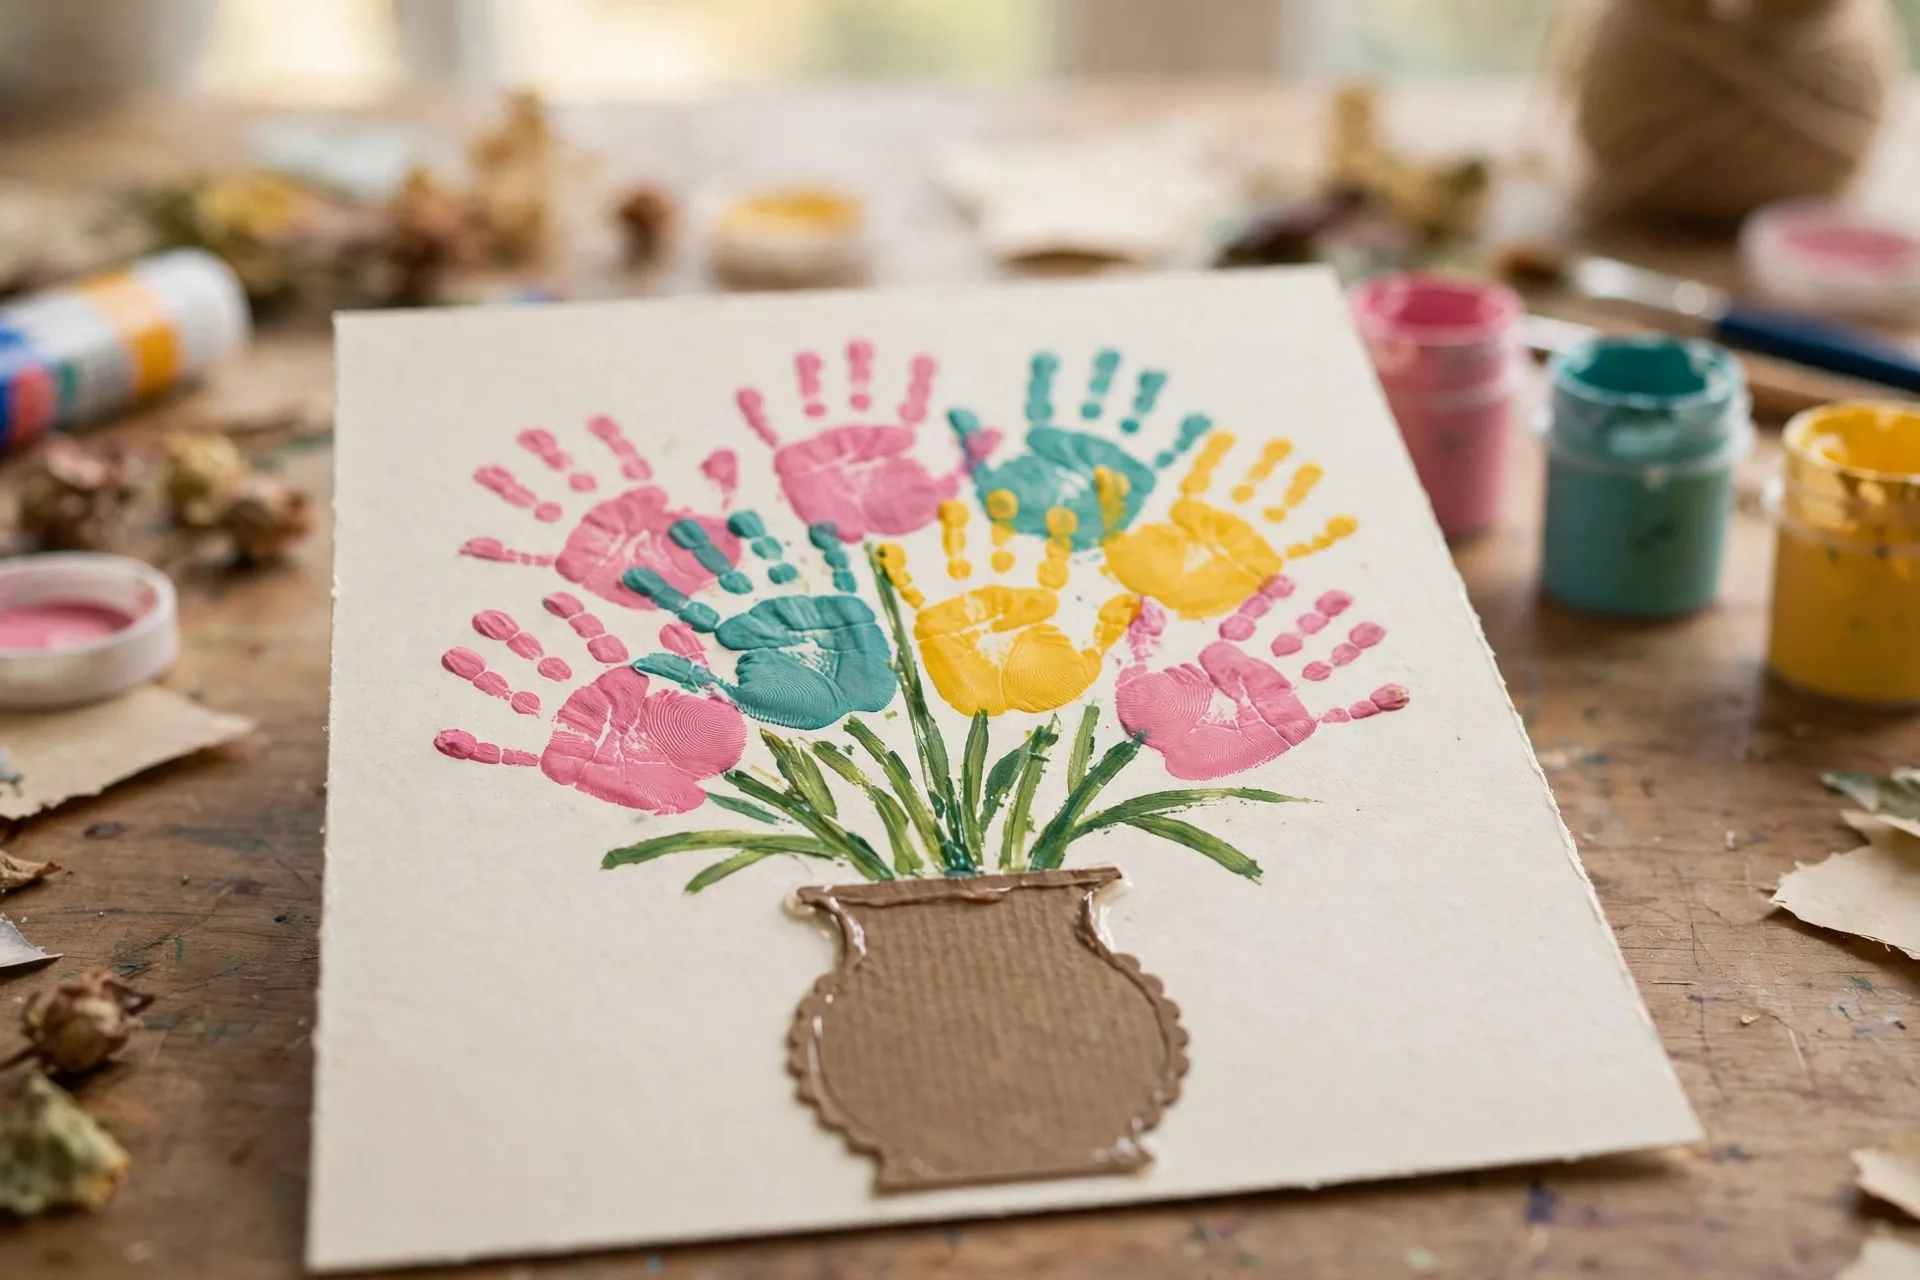
The classic for a reason: her tiny hand becomes a whole bouquet of flowers in about fifteen minutes, and all the toddler has to do is hold still for five seconds while you press her hand onto the paper.
The adult does first: fold a sheet of card stock in half and sketch a vase shape at the bottom of the front, or cut a simple vase from colored paper and glue it down. Cut three green strips for stems. An adult does all cutting, always.
The toddler does: with washable non-toxic paint brushed lightly onto her palm, she presses her hand down three or four times above the stems, each print in a different color. Her fingers become the petals. You glue the stems from each flower down to the vase and write the names underneath.
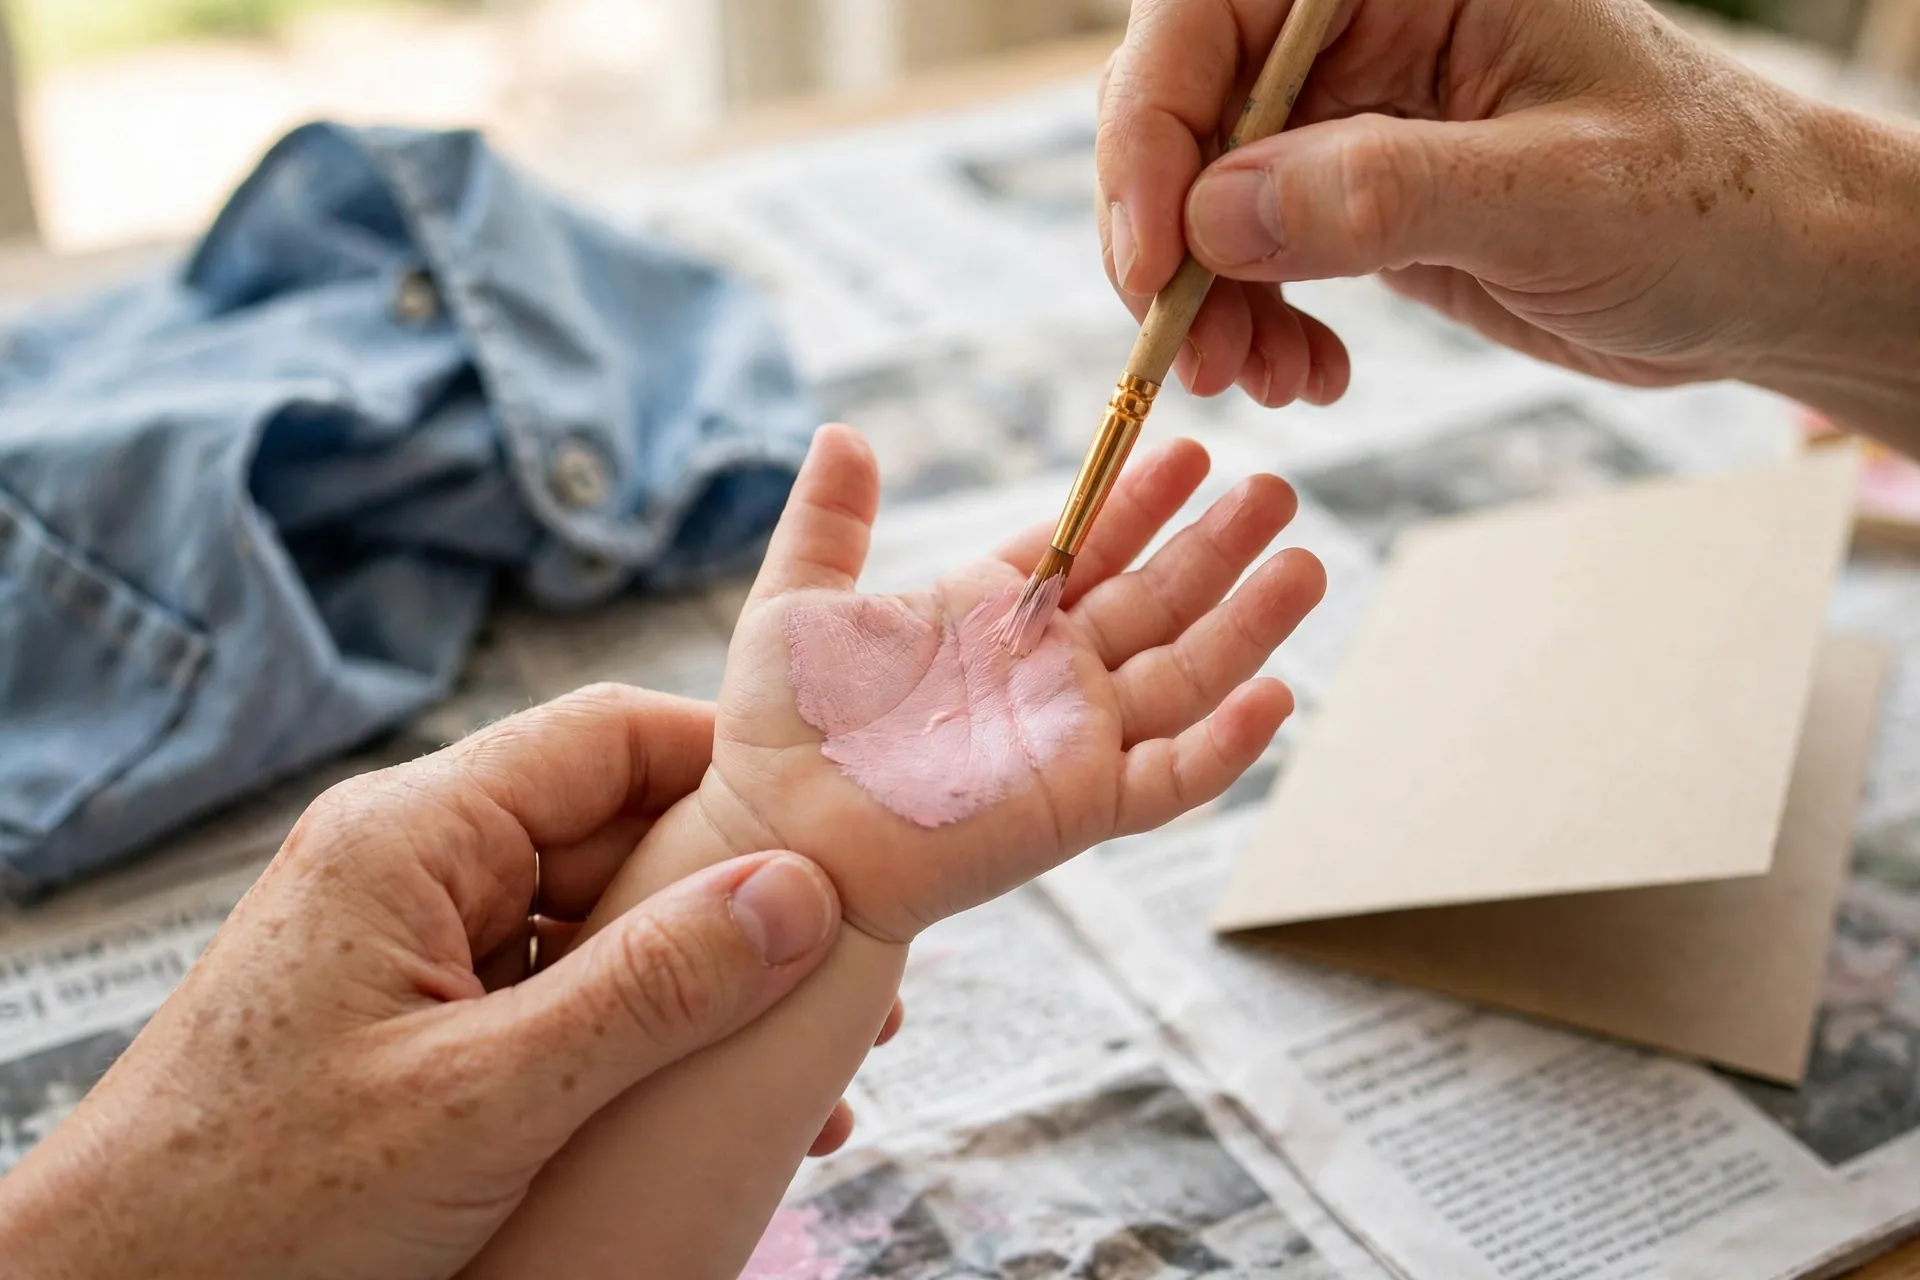
Sarah’s tip: paint the hand while she is standing at the table, not sitting, so she cannot run mid-print. Press down gently and lift straight up without wiggling, or the petals blur. One wipe of a damp cloth cleans the hand between colors.

Crayola Washable Kids Paint – 10 Count
The print-making essential: washable paint that comes off hands, tables and sleeves with soap and water. A thin brush coat on the palm prints cleaner than dipping.
2. The Thumbprint Balloon Card
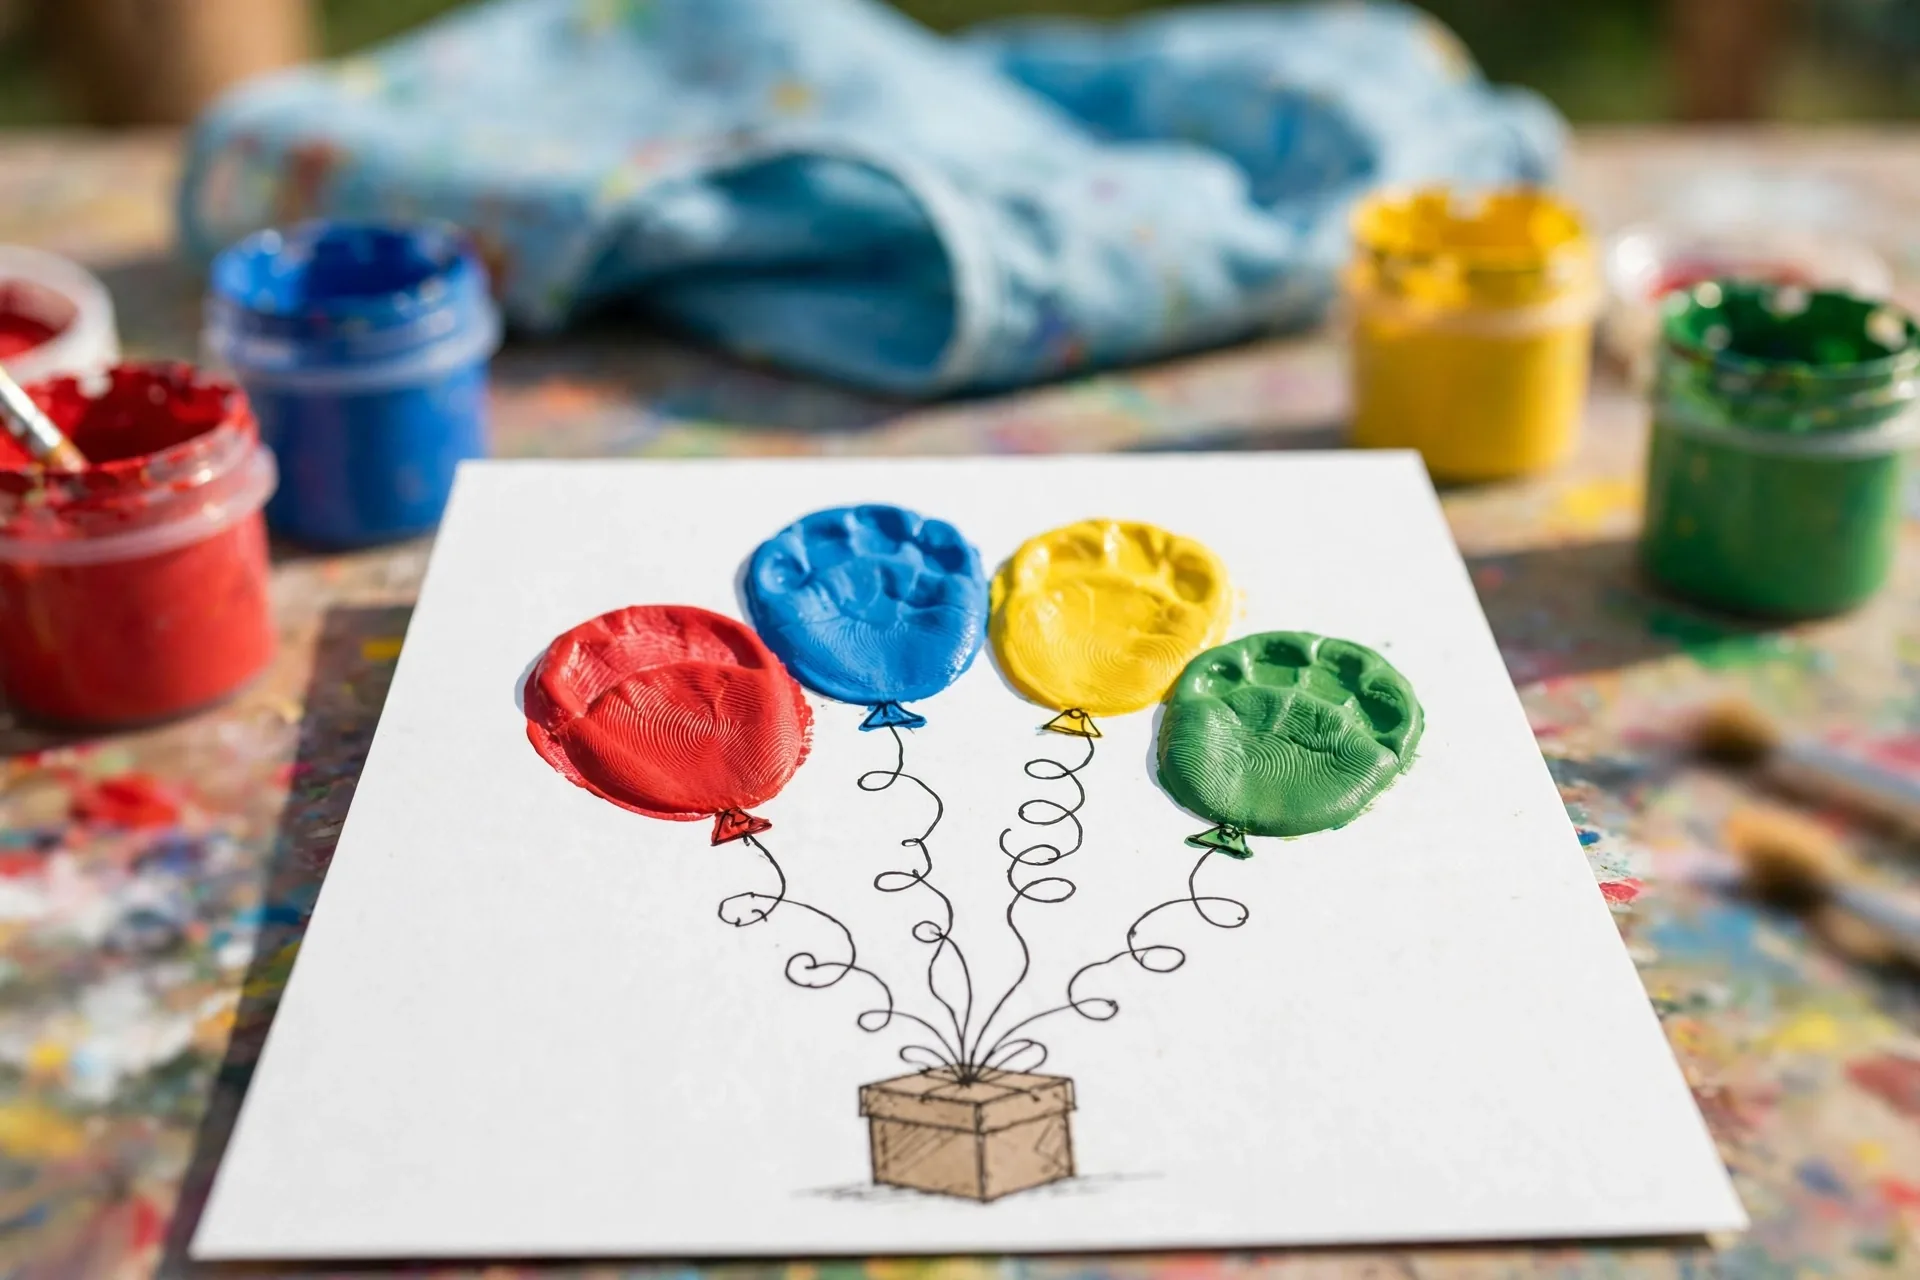
The lowest-pressure print card there is. One thumb makes one balloon, so a fussy toddler only has to stamp a few times and she is done, and the result genuinely looks like a bunch of balloons floating up the card. The grown-up turns each thumbprint into a balloon with a tiny knot at the bottom and a string drawn down to the gift box.
The adult does first: fold the card and cut a small gift-box shape from colored paper, glued near the bottom as the anchor for the strings. Cut nothing else.
The toddler does: press one thumb into a thin layer of washable paint and stamp it 5 to 8 times in the upper two-thirds of the card, mixing colors. Then she scribbles a “string” from some of the balloons down to the box with a crayon, which toddlers find deeply satisfying.
Sarah’s tip: a paper plate works as the paint palette, and less paint prints better than more. If a thumbprint smears, call it a popped balloon and stamp another one beside it. Kids think this is hilarious.

Crayola Construction Paper – 480 Sheets
The card base and every cut-out in this guide. Heavy enough to hold paint and glue without warping, and 480 sheets means ruined cards are no tragedy at all.
3. The Footprint Heart Card
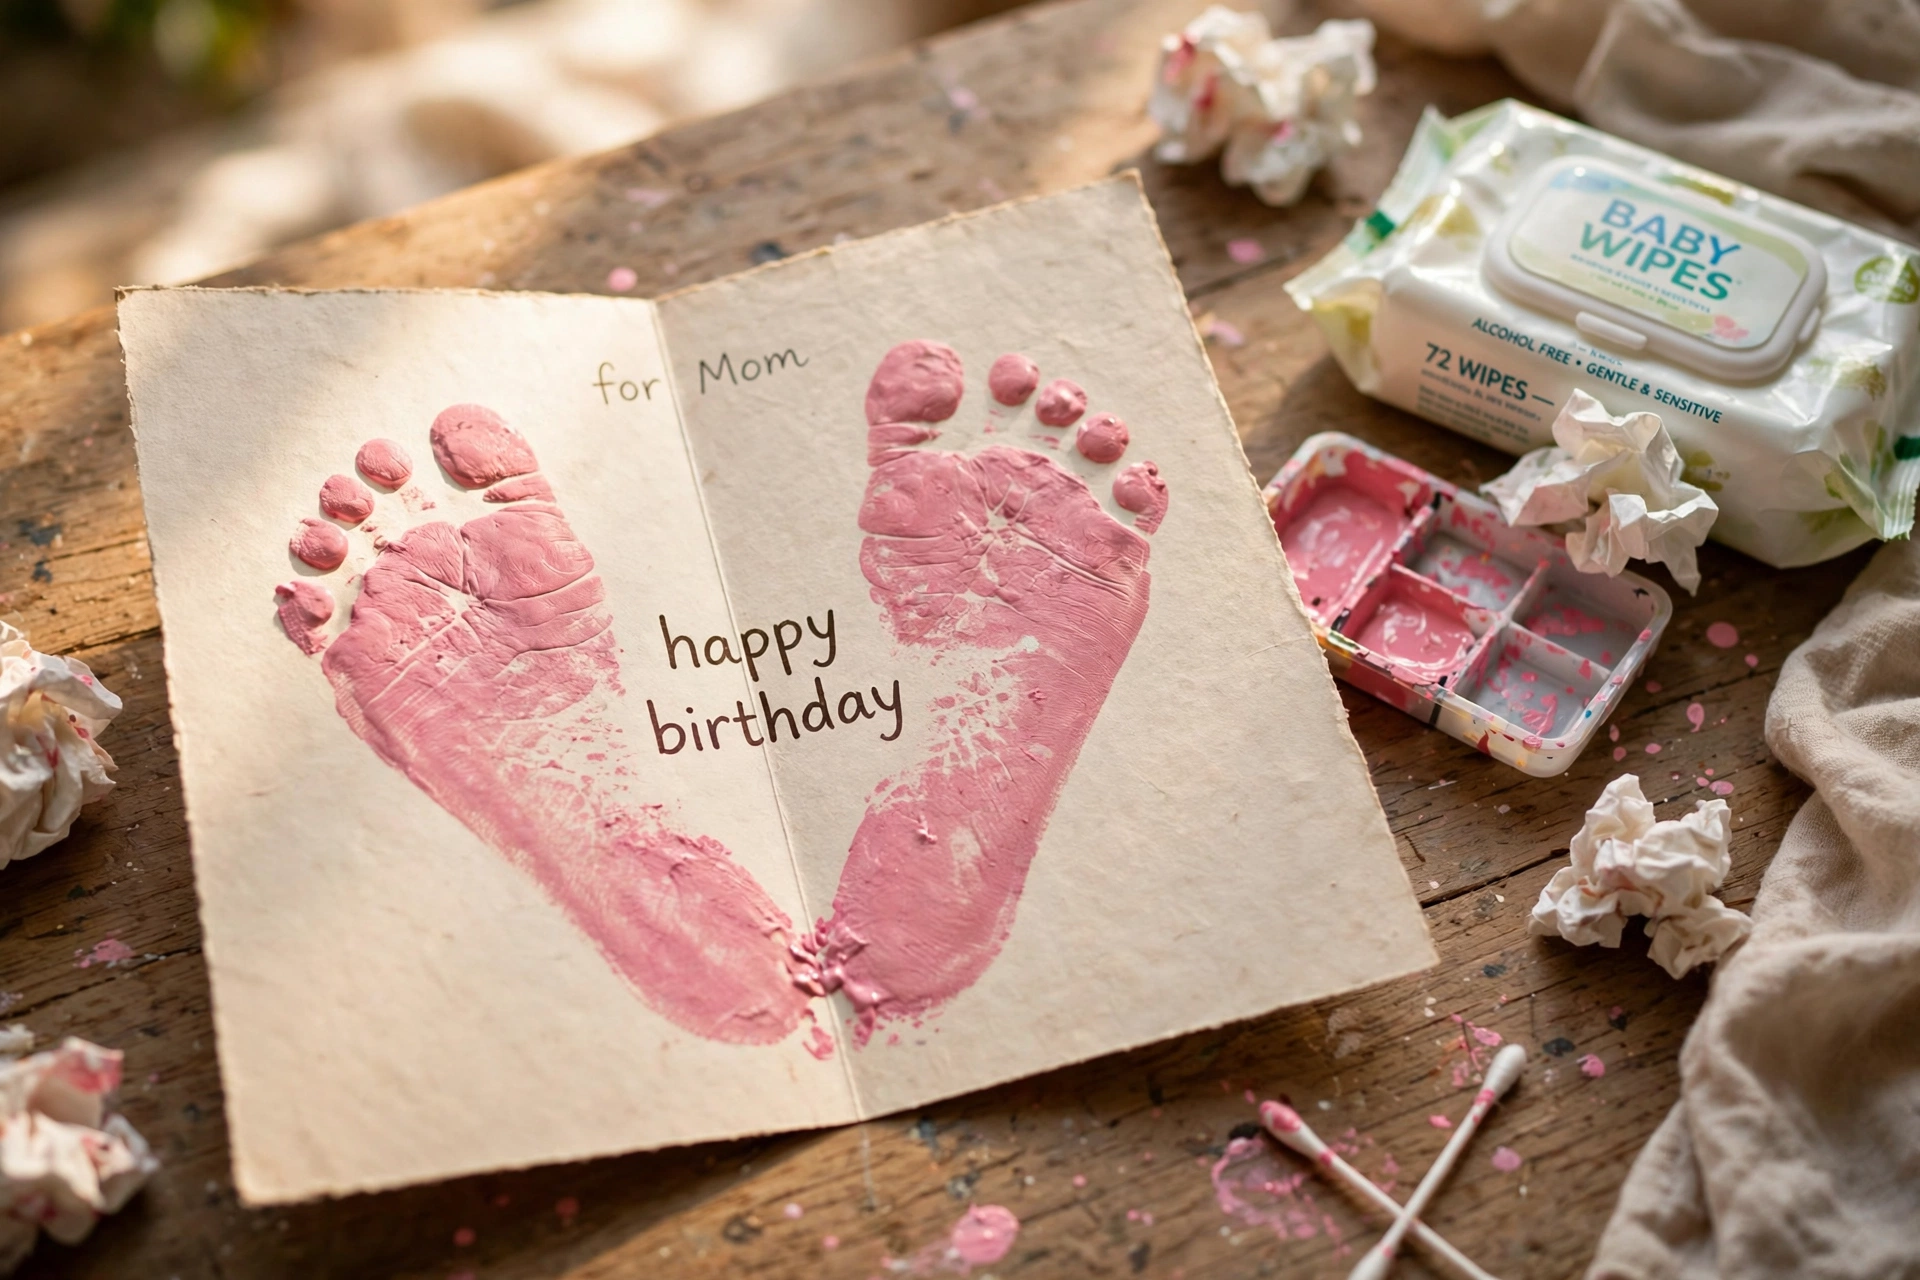
A footprint heart sounds hard and is almost embarrassingly easy. You make two footprint prints side by side, tilted slightly toward each other, and the two heels meet in a point at the bottom. The shape reads as a heart instantly, and it captures how small those feet are right now, which is the part that will get mom later.
The adult does first: fold the card and decide the placement, because feet are bigger than hands and you only get room for one or two prints. Lay the card flat on a wipeable surface and have the toddler seated with feet clean and ready.
The toddler does: the adult paints the bottom of one foot, then you lift her and guide the foot down onto the card, pressing heel to toe. The toddler’s job is to giggle, which she will. Two prints angled toward each other make the heart. Write “happy birthday” in the middle once dry.
Sarah’s tip: do this on a floor you can mop, or lay a shower curtain down. Wipeable paint is non-negotiable here. Paint one foot, print, clean, then paint the other. Doing both at once is how you get painted footprints across the kitchen floor, a lesson I learned personally.
4. The Photo Pocket Card
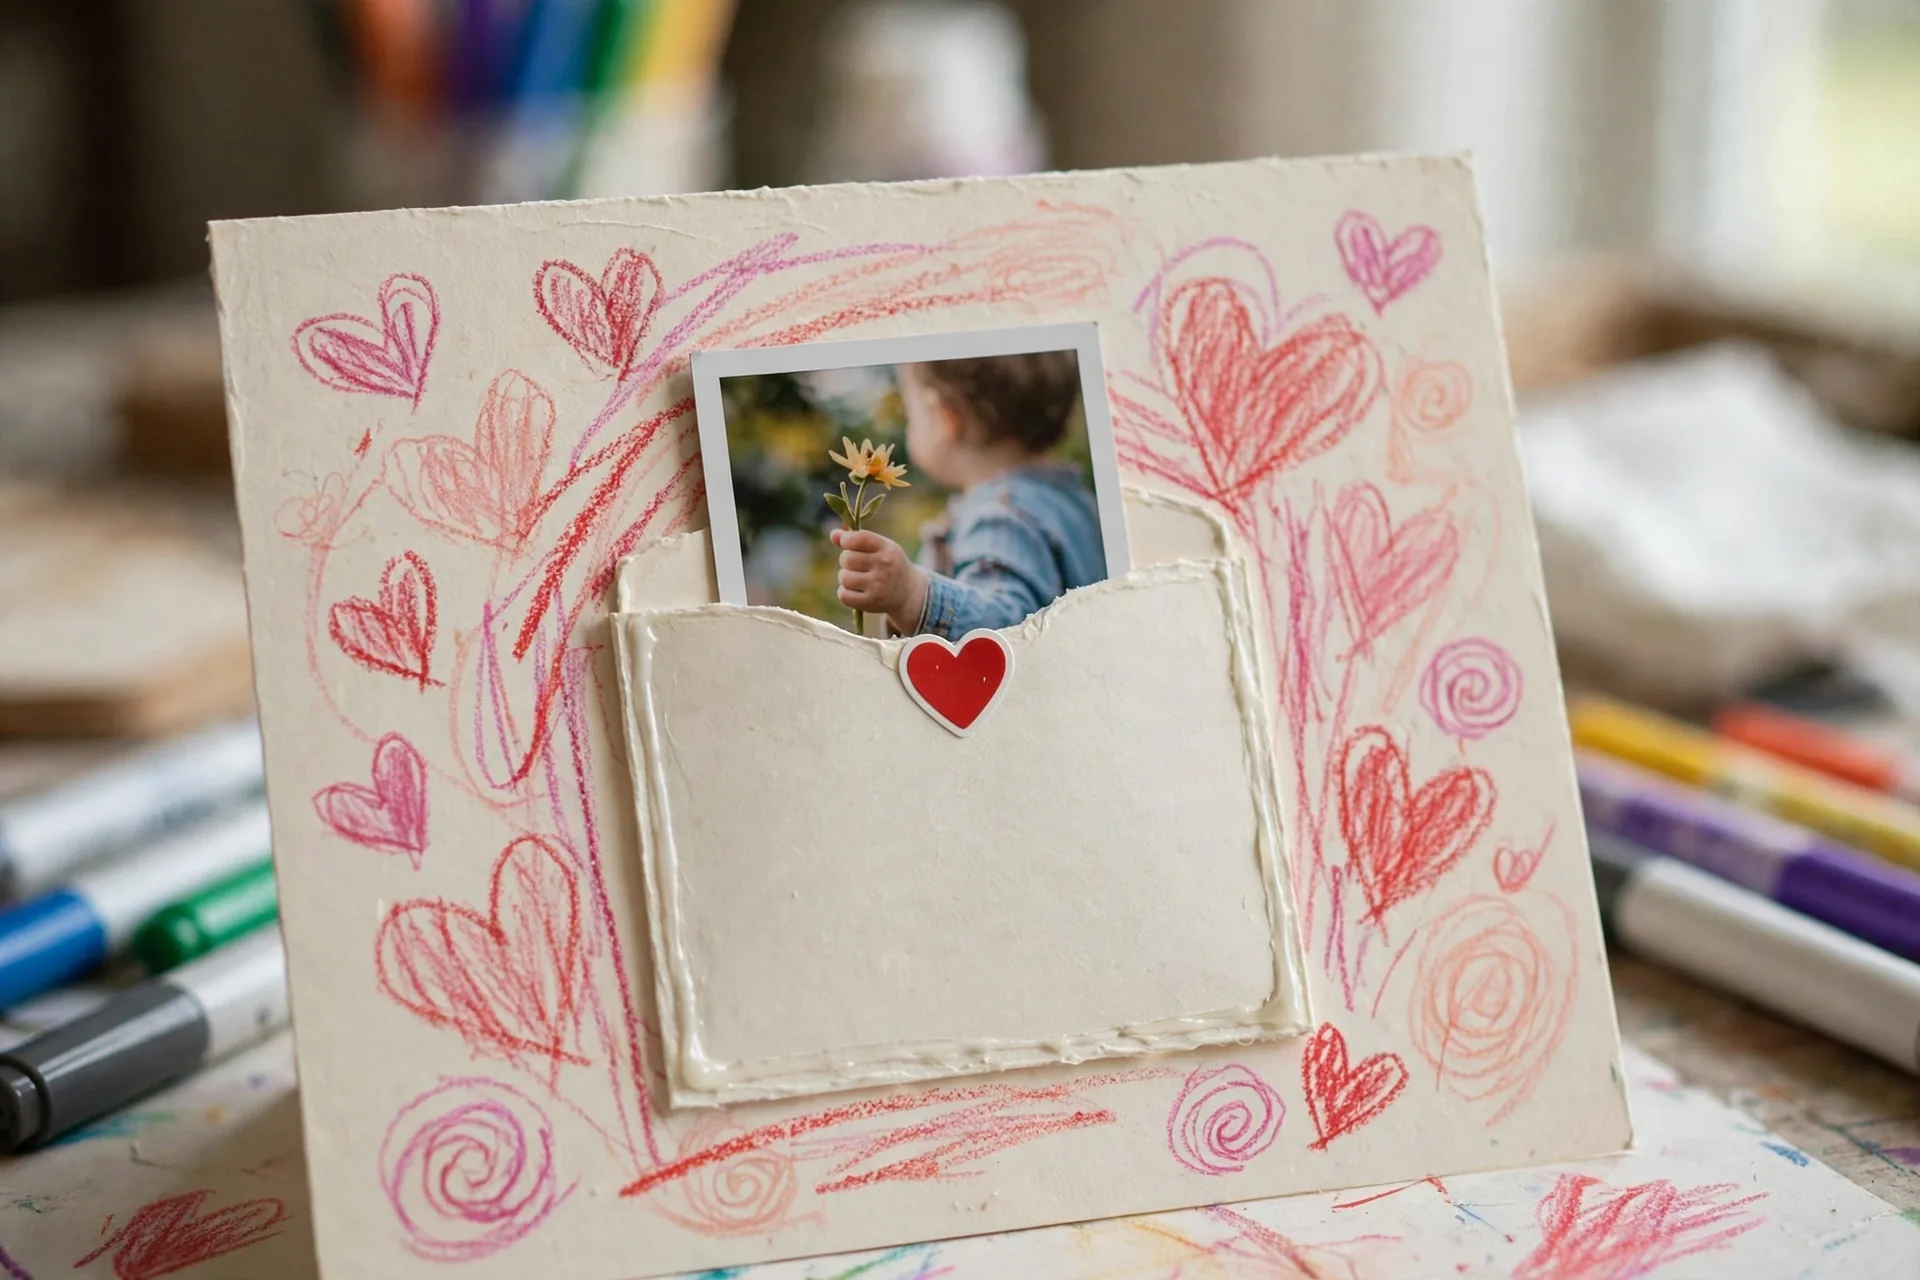
This is the one for the mom who keeps everything. You glue a small pocket to the front of the card and slide a photo inside, so the card is also a tiny frame. The photo is the part she will still look at in ten years: her toddler, holding a flower, mid-laugh.
The adult does first: fold the card, cut a rectangle of colored paper slightly bigger than the photo, and glue three of its four sides to the front of the card to form a pocket. The top edge stays open.
The toddler does: she picks which photo goes in (give her two choices, not twenty) and pushes it into the pocket herself. Then she decorates the card front around the pocket: heart stickers along the edges, crayon scribbles, one big drawn sun. Seal the pocket edge with a heart sticker so the photo does not slide out.
Sarah’s tip: print the photo at home or at a drugstore the day before, sized a touch smaller than the pocket. A slightly blurry candid photo she loves beats a perfect portrait she has never seen. This card travels well in a gift bag since the photo sits flat inside the pocket.
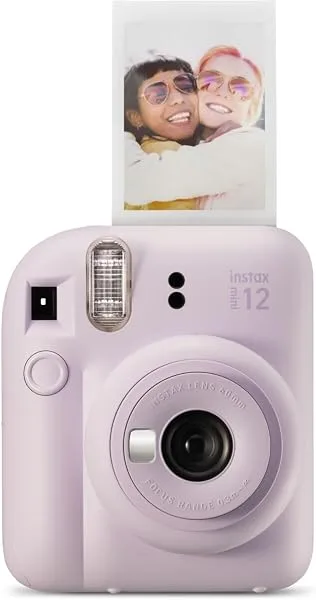
Fujifilm Instax Mini 12
For the photo pocket card: print the toddler’s photo on the spot, sized for the pocket. Keep the camera with the adults and print before the sticking begins.
5. The Googly-Eye Love Bug Card

Every toddler on earth is fascinated by googly eyes, which makes this the card most likely to get genuine, unprompted toddler engagement. You draw a simple round bug body and let her glue on the eyes, the antennae, and the heart spots. The pun writes itself on the inside: “you are my love bug.”
The adult does first: draw or cut a large circle for the bug body on the card front, plus two antenna lines and small heart shapes for spots. Squeeze small dots of glue where each piece goes, because toddlers place better than they squeeze.
The toddler does: she picks up each googly eye and presses it onto the glue dot, then sticks the heart spots onto the body. This is excellent fine-motor practice and a real five minutes of focused toddler time.
Sarah’s tip: use the larger googly eyes, not the tiny ones, and press each one down firmly. Small loose craft pieces are a choking hazard, so the eyes stay glued to the card under your supervision and the card is not a toy. One extra glue dot under each eye keeps them attached for years.
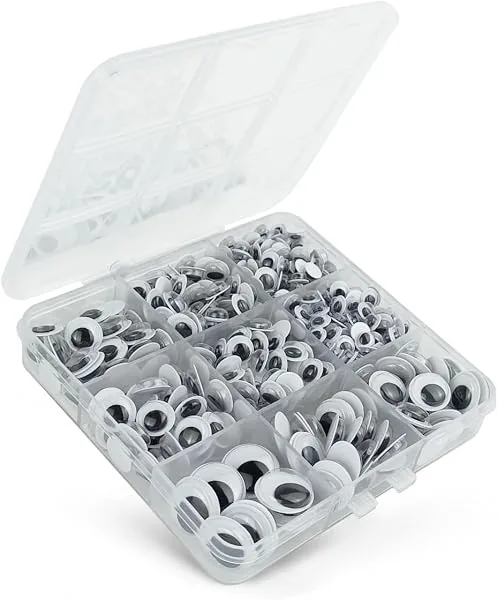
Googly Eyes Craft Pack
The love bug’s eyes: use the larger sizes from the pack and press each firmly onto its glue dot. Loose small pieces are a choking hazard, so this card is made and kept with a grown-up nearby.
6. The Sticker Rainbow Card

The no-paint, no-glue, no-mess card, and honestly the one I reach for on the actual morning of a birthday when the paint has not arrived yet. You draw a simple rainbow arc in pencil as a guide, and the toddler covers it with stickers. The whole thing takes ten minutes, she can do almost all of it herself, and the kitchen table stays clean.
The adult does first: fold the card and draw a light rainbow arc across the front, plus a small cloud at each end. Open the sticker sheets and peel the backing back on the first few so little fingers can grab them.
The toddler does: she places stickers along the arc, roughly following the rainbow bands. Then she sticks extras everywhere: clouds, corners, the inside flap. A toddler’s “everywhere” is part of the charm.
Sarah’s tip: buy the cheap bulk sticker sheets with hundreds of hearts and stars, not the precious single sheets. She will use forty stickers, and that is the point. Write the birthday message on the inside yourself with a paint pen or marker, because her sticker coverage will not leave room for writing.
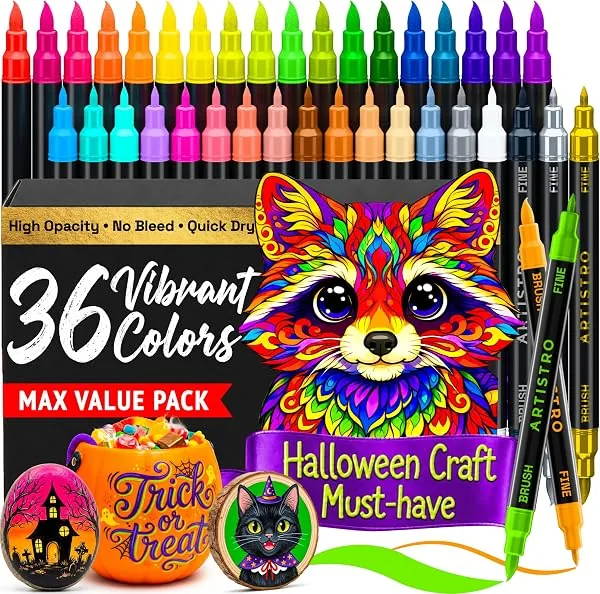
ARTISTRO Acrylic Paint Pens – 36 Colors
For the grown-up’s part of the card: write the birthday message and the toddler’s name in paint-pen lettering that shows up bright on colored card. The caps stay on between turns, and the pens stay with the adult.
7. The Tissue Paper Flower Card

Scrunched tissue paper makes the fluffiest flowers, and scrunching is one of the few craft motions a one-year-old can genuinely do on her own. This card has no paint, no tiny parts, and the supplies are just tissue paper and a glue stick, which you probably already own.
The adult does first: fold the card, draw three or four simple flower shapes with green stems, and squeeze glue onto each flower center. Cut the tissue paper into rough squares; they do not need to be neat.
The toddler does: she grabs a tissue square, scrunches it into a ball, and presses it onto a glue dot. Repeat until every flower has a puffy tissue center.
Sarah’s tip: this is the best “first ever card” for a child under eighteen months, since the only skill is the grab-and-stick motion. Use a glue stick, not liquid glue, so the card is not soaked. If she eats a corner of tissue paper, it is non-toxic, but keep the session supervised anyway, because tissue paper and toddlers have a way of becoming a confetti situation.
Toddler Craft-Safety Rules
First, only washable, non-toxic paint goes on toddler skin, and the adult paints the hand or foot, never the other way around. Check the label for an AP non-toxic seal, keep paint off the face, and wipe skin clean as soon as the printing is done.
Second, the grown-up does all cutting and all glue squeezing. Scissors, craft knives, and hot glue guns stay with the adults. Toddlers get the glue stick or pre-dotted glue, and they do the pressing and sticking.
Third, no loose small pieces in toddler hands. Tiny googly eyes, buttons, beads, and sequins are choking hazards. Use the largest size available, glue them down firmly with a grown-up pressing each one, and the finished card lives with mom, not in the toy box.
Fourth, skip glitter. Glitter gets into eyes, embeds in skin, and sheds everywhere for years. If you want sparkle, use shiny stickers or metallic crayons instead.
Fifth, keep the session short and supervised from start to finish. Ten to twenty minutes is the real window before a toddler loses interest and the paint goes somewhere unexpected. A smock or old t-shirt, a wipeable table cover, and damp cloths within reach will save the furniture.
What to Write Inside
She cannot write yet, so you are her ghostwriter, and that is an opportunity. Ask her simple questions and write down her actual answers, exactly as she says them. “What do you love about mommy?” might get “her hair” or “cheese.” Write that. Moms do not want a polished poem from a toddler. They want the cheese answer.
A few message formulas that work every year:
“Happy birthday, mommy! I made this with my own hands (and a little help).”
“You are my love bug. Happy birthday from your littlest one.”
“My hands are small but my love is big. Happy birthday, mommy.”
“Thank you for the snacks, the songs, and the snuggles. Happy birthday!”
Always add the date and her age on the back. “Made by [name], age 2, October 2026.” Five years from now she will not remember which card came from which year, and the date turns a cute craft into a documented memory.
Keeping It Forever
A card this good should not end up in a drawer. The simplest archive is a dated envelope or a small keepsake box, one box per child, cards standing upright in birthday order. A simple frame turns the handprint bouquet into nursery art for a year and keeps the paint safe from sticky fingers.
Photograph the finished card before you give it, plus one of the making-of: the painted hand, the concentrated face, the sticker-covered table. If the original ever gets lost, the photos keep the memory. And if the card has a photo pocket, keep one spare copy of the photo tucked inside the keepsake box, because the pocket photo will fade long before the card does.
Shop This Post
Everything with a link in this guide, in one place:
| Product | Used for |
|---|---|
| Crayola Washable Kids Paint – 10 Count | Handprint, thumbprint and footprint cards (ideas 1, 2, 3) (Check Price) |
| Crayola Construction Paper – 480 Sheets | Card bases and cut-out shapes (all ideas) (Check Price) |
| Fujifilm Instax Mini 12 | The photo for the pocket card (idea 4) (Check Price) |
| Googly Eyes Craft Pack | The love bug’s eyes (idea 5) (Check Price) |
| ARTISTRO Acrylic Paint Pens – 36 Colors | Grown-up’s message lettering (idea 6 and all cards) (Check Price) |
Frequently Asked Questions
Is it safe to put paint on my toddler’s hands and feet? Yes, if it is washable paint labeled non-toxic (look for the AP seal) and the adult applies it. Keep it off the face, avoid any paint not made for kids, and wipe hands and feet clean right after printing. Never let the toddler paint herself.
What age can a toddler actually help make a card? From about twelve months for the scrunch-and-stick card, and eighteen months to two years for handprint and thumbprint cards. At every age the adult does the cutting, gluing, and lettering; the toddler does the pressing, stamping, and sticking.
What do I do when the handprint smears? Make a second print beside it and let the smear become part of the design, or start a fresh card if it bothers you. A smudged print looks handmade in the best way, and most moms genuinely prefer the imperfect one. Keep spare card stock cut and folded before you start.
Can I make the card the morning of her birthday? Yes, with the sticker rainbow or tissue flower cards, which need no paint and no drying time. Paint cards need about thirty minutes of drying before you write on them or fold the card into an envelope, so plan accordingly.
Should I redo the card if it looks messy? Only if it genuinely upsets you. Toddlers put everything in their mouths and smear everything they touch; a little mess is proof she made it. The date and her age on the back matter far more than perfect petals.
For Real Life?
She will not remember making it. You will not remember the cleanup. But years from now, mom will open a keepsake box and find a tiny handprint from the year her baby was two, and it will stop her morning cold. That is what a toddler birthday card for mom is for. Not the card. The hand.
More birthday guides on MamaKinder