
How to Start a Mom Blog in 2026: A Beginner’s Roadmap

I started thinking about a mom blog the way most moms do: at 11 PM, phone in hand, baby monitor glowing, wondering if the things I figured out today could help another mom tomorrow. I knew how to soothe a teething toddler. I did not know what hosting was.
Here is the honest truth I wish someone had handed me that night. Starting a mom blog is twelve small steps, and none of them is hard on its own. The hard part is the order. These 12 simple steps to start a mom blog are the order I would follow starting today with a 4-year-old and a 2-year-old underfoot. If you want the systems that keep my household running, our Mom Life Tips are the companion guide.
Heads up: this post contains affiliate links. If you buy through them, MamaKinder may earn a small commission at no extra cost to you. It helps keep these guides free.

Your Roadmap at a Glance
| Step | What you do | Time it takes |
|---|---|---|
| 1 | Name your why | 20 minutes |
| 2 | Pick one niche you have lived | 30 minutes |
| 3 | Choose a name and domain | One evening |
| 4 | Set up WordPress and hosting | One afternoon |
| 5 | Pick a clean, fast theme | 30 minutes |
| 6 | Write your About page and essential pages | One nap window |
| 7 | Install four plugins | 20 minutes |
| 8 | Plan your first 10 posts | One evening |
| 9 | Write and publish your first 5 posts | One week, in small bits |
| 10 | Take photos that look like your real life | As you go |
| 11 | Share every post on Pinterest and one more place | 15 minutes per post |
| 12 | Earn your first dollar, then build the routine | Ongoing |
Decide Before You Build Anything
Step 1. Name your why before you name your blog

Every mom blog that lasts started with a reason that was not money. Money comes later, and slowly. So before you pick a name or a color, write one sentence that finishes this thought: “I am starting this blog because…” Maybe you want to remember these years, help last year’s mom, or earn around school hours.
Your why also decides what success looks like in the first three months. If your why is remembering, ten honest posts is success. If your why is income, success is ten posts plus one way to earn. Tape it inside a kitchen cupboard. On tired nights, that sentence gets you to finish the post.
Step 2. Pick one niche you have actually lived

A niche is just the one corner of mom life you could talk about for a year without getting bored. Not the corner that pays best. Not the corner with the most blogs already in it. The corner you have actually lived. Toddler meals, baby sleep, budgeting on one income, crafts, postpartum recovery, family travel. Pick the one where you already answer friends’ questions without thinking.
The test is simple. Can you list ten post ideas in this niche in ten minutes? If yes, that is your niche. If you stall at three, the niche is too narrow or too borrowed, so widen it a little or pick the next one on your list. And write about the real version of it, mess included. The posts moms save say what every mom secretly wishes someone would say, like our 15 Things Every Mom Secretly Wishes For.
Step 3. Choose a name you can say out loud
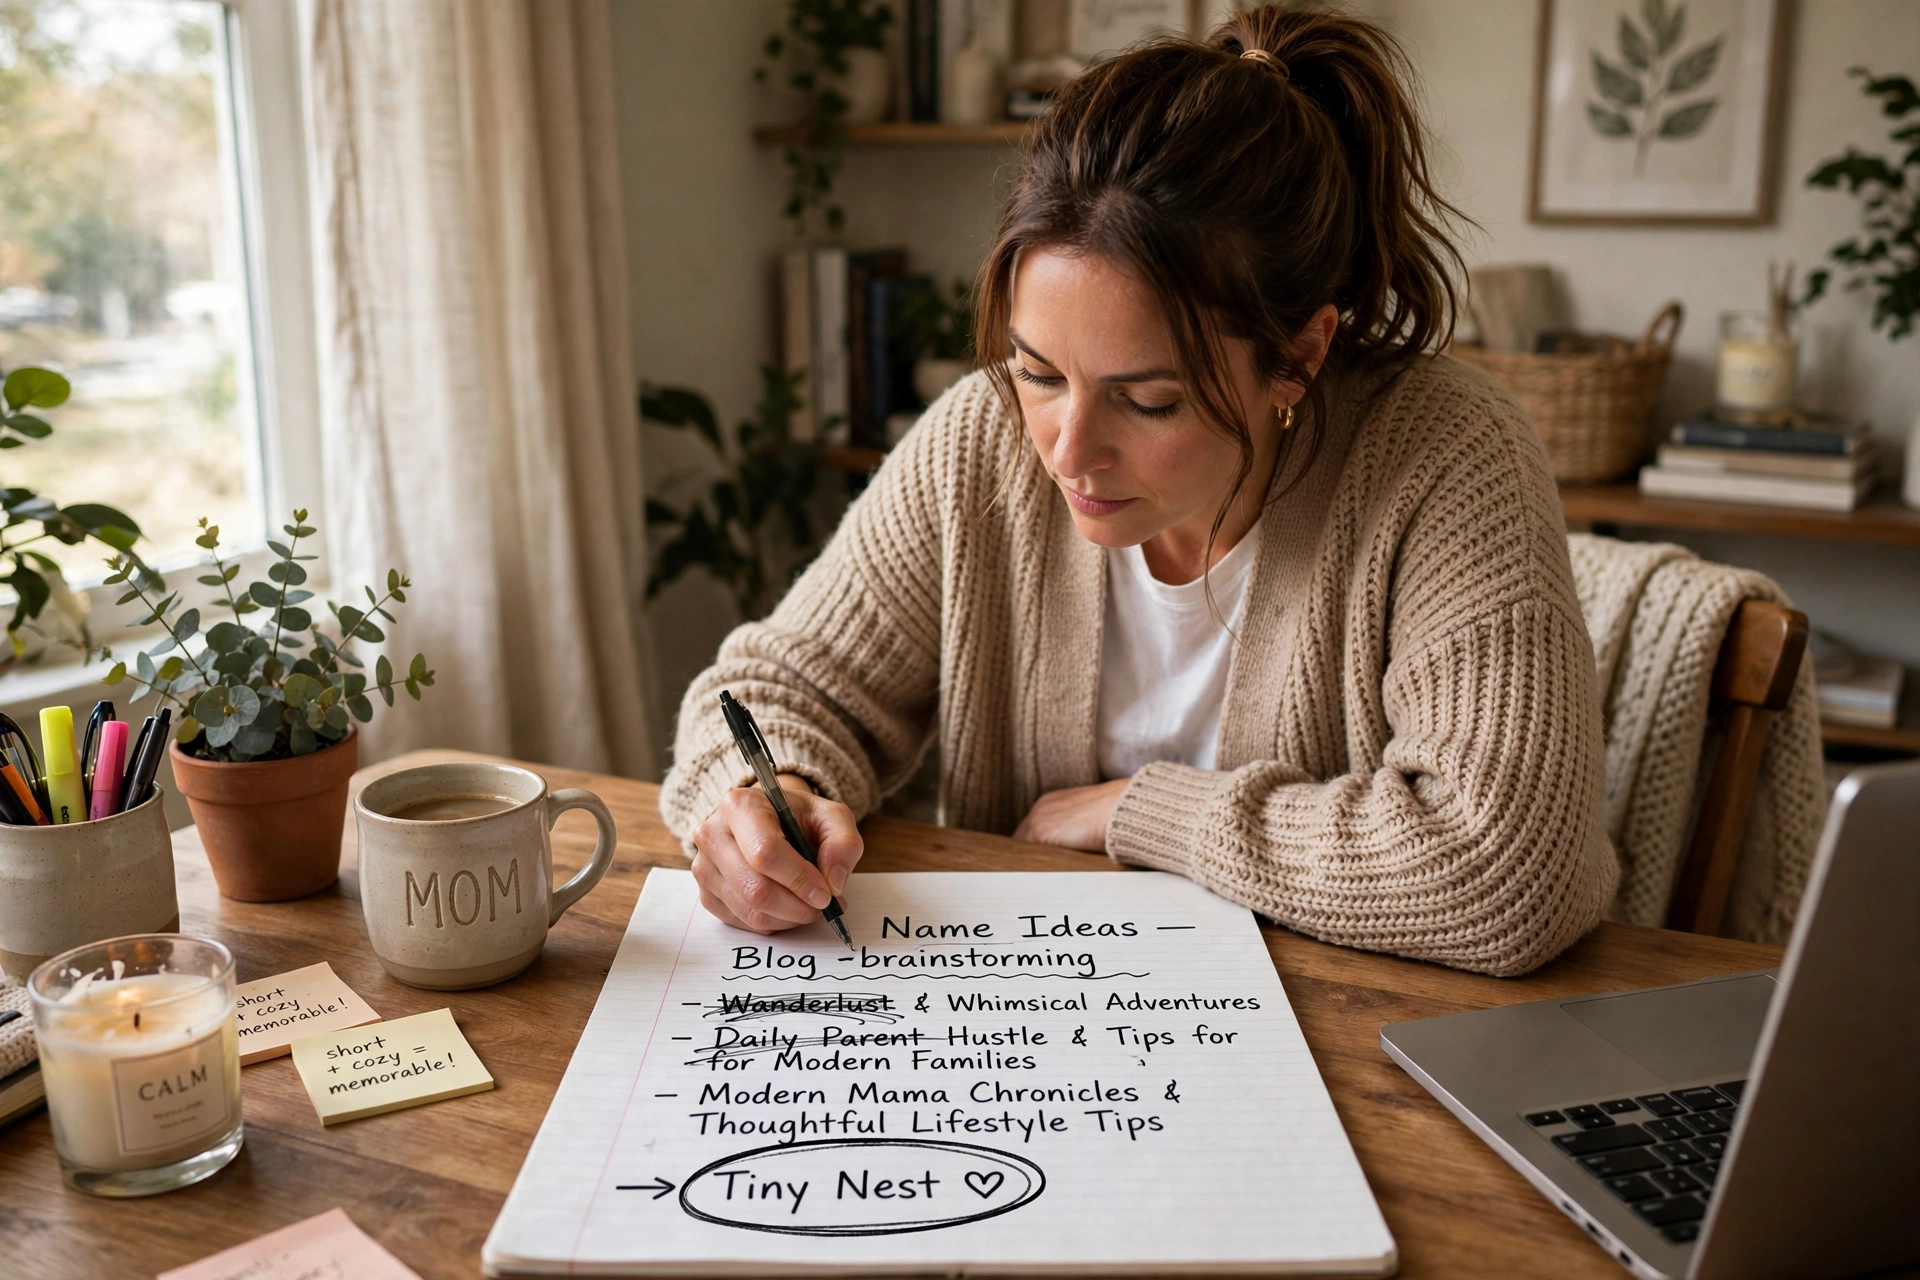
A good blog name passes three tests. You can say it out loud without spelling it. You can imagine it on a book cover. And it still fits when your kids grow up, so a name tied to one baby stage will feel small in two years. Short beats clever. If the name is taken, add a small word like “the” and move on. Do not spend three weeks on a name. Spend one evening.
Check three things first: the matching domain is available, the name is not already a big blog in your niche, and the social handle is free on the one platform you plan to use most. Then buy the domain for a year, usually about $10 to $15, and stop shopping. A domain is a street address, not a personality. The writing is the personality, and it is waiting in step 8.
Set It Up
Step 4. Set up WordPress and hosting in one afternoon

WordPress is the tool most mom blogs run on, and self-hosted WordPress is the version you own. Free platforms are fine for a diary, but they can show ads you did not choose and limit how you earn. Self-hosted means you pay a small monthly hosting fee, usually a few dollars a month, and in return the blog is yours. Hosting is rented space that keeps your blog online.
Pick a beginner host with one-click WordPress installation, choose the basic plan, connect the domain from step 3, and let the installer work. Then log in to your blog’s dashboard, the back room where the writing happens. It will look plain and empty. That is normal. Do not buy anything else today.
Step 5. Pick a clean, fast theme and keep it simple

A theme is the outfit your blog wears. Pick a light, free theme made for bloggers, one with big readable text and plenty of white space, and then stop looking at themes. This is where new bloggers lose a month, because themes are fun and writing is work. Readers come back because a post helped them at 2 AM, not for the theme.
Keep the homepage simple: your blog name, one line about who the blog is for, and your newest posts. Skip the sliders, the popups, and the five menus. Pick two colors and two fonts and use them everywhere. You can change the outfit later, once you have twenty posts. Right now it just needs to be clean enough that nobody notices it.
Step 6. Write your About page and the three pages nobody sees
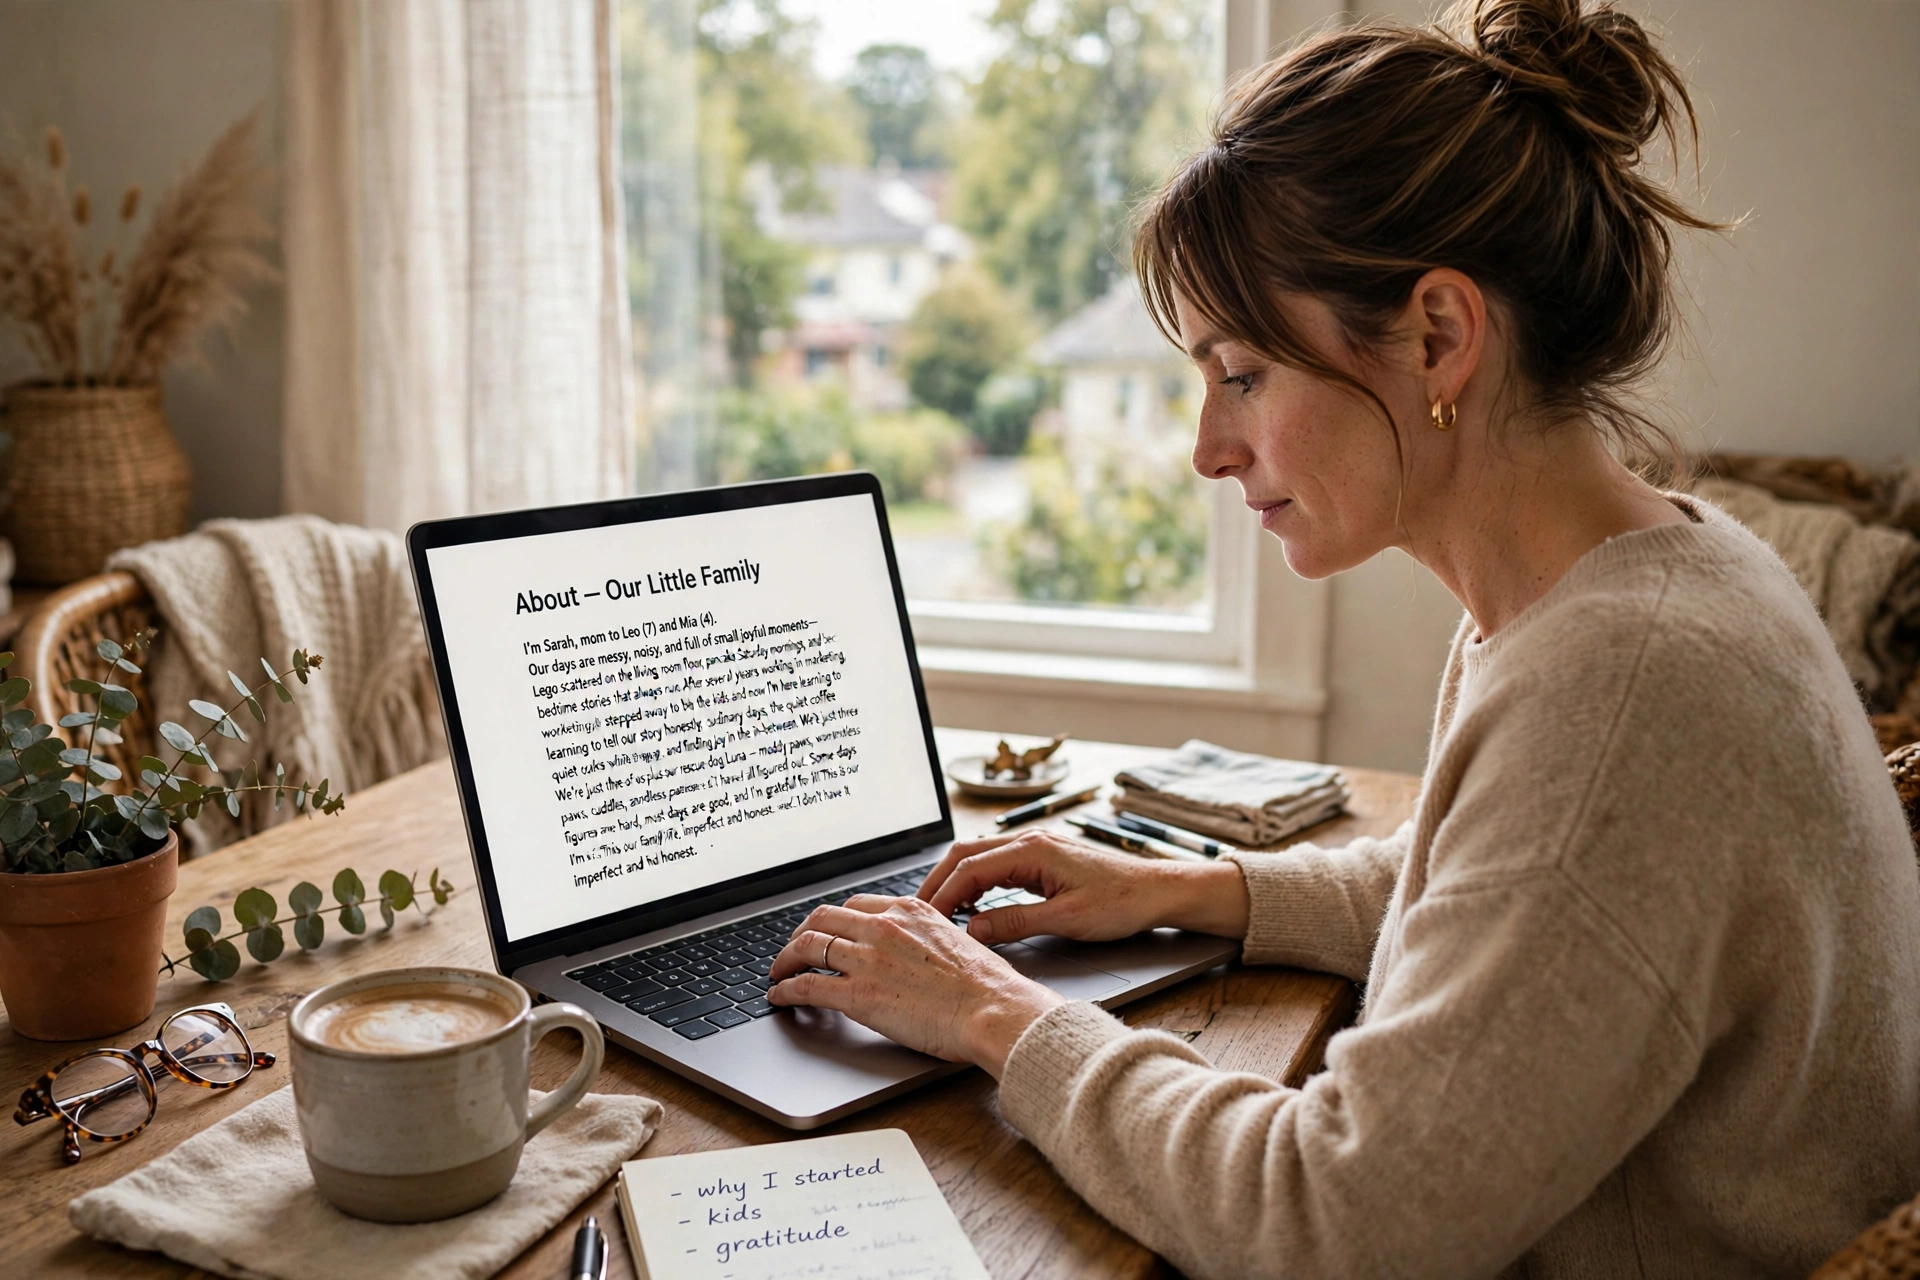
Before your first real post, write four short pages. The About page is the one readers actually read, so make it honest and short: who you are, who your kids are in general terms, what the blog is for, and what a reader will get here. Keep it to the version of you a mom at the playground would meet. The other three pages are the quiet ones: Contact, Privacy Policy, and Disclosure.
You can write all four in one nap window, and free templates exist for the privacy and disclosure pages. Do not skip them because they feel boring. Ad networks and affiliate programs ask for them before they will work with you. Think of them as the locks on the front door: nobody admires them, but the house is not finished without them.
Step 7. Install only the four plugins you need

A plugin is a small add-on that gives WordPress one new job. You need four jobs done, so install four plugins and stop. One for search engine basics, so your posts can be found. One for backups, so a bad day never deletes your work. One for security, so the locks stay locked. And one for analytics, so you can see which posts readers actually open. That is the whole list. Every extra plugin slows the blog and adds one more update.
Install them one at a time, turn each one on, and check that the blog still loads before you add the next. If a plugin asks you to change twenty settings, leave the defaults. Learn the fancy settings later. A new blog with forty plugins and zero posts is a hobby shop with no stock.
Write, Share, and Earn
Step 8. Plan your first 10 posts before you publish one

Here is the step that separates the blogs that last from the ones that stall after post three. Before you publish anything, write down ten post titles. Not ten vague ideas, ten titles a mom would actually click. Use the niche from step 2 and the questions you already answer for friends. Put your best idea third, so readers who find post one stay for post three. Ten titles means you never face a blank screen.
Keep the list where you will see it. I keep mine in a journal by the bed, because the best titles arrive at 10 PM. The Intelligent Change The Five Minute Journal is the one on my nightstand: a guided daily journal with a morning prompt built in, undated so you can start any day, and the five-minute routine is short enough to survive a toddler morning. One line each morning for the idea that arrived overnight, and by Sunday you have a week of titles.

Intelligent Change The Five Minute Journal
A guided daily gratitude journal with a morning affirmation prompt built in. Undated, so you can start any day, and the routine takes about five minutes.
Step 9. Write and publish your first 5 posts

Now write. Not perfectly, just clearly, the way you would explain it to a friend over coffee. Each post should answer one question and end with one thing the reader can do today. Write in short paragraphs, use headings so a tired mom can skim it one-handed, and read it out loud once before you publish, because your ear catches the clumsy sentences your eyes skip. Your first posts will not be your best, and that is how it works.
Publish five posts before you tell anyone the blog exists. Five posts means a visitor who likes one has four more to read. Write them in small bits, one section per nap window. A published post that helps one mom beats a perfect draft that helps nobody. The publish button is not a test. It is a door.
Step 10. Take photos that look like your real life

Mom blogs run on photos, and the photos that work best are the real ones: breakfast on the table, the craft mid-mess, the kids in the garden. You do not need a fancy camera. Your phone, daylight from a window, and a tidy corner of the table will carry you through the first year. Take photos as you live, and keep a blog photos folder on your phone.
One tool earns its place here if you love paper the way I do. Keep a Fujifilm Instax Mini 12 instant camera on the shelf for the days worth keeping: it prints credit-card-sized photos in seconds, so the moment becomes a print on the fridge while it is still fresh, and a wall of those small prints becomes the family timeline your blog draws from. And one gentle rule: never post a photo of another child without that parent saying yes first.

Fujifilm Instax Mini 12 Instant Camera
Prints credit-card-sized photos in seconds, so the firsts land on the fridge while they are still fresh. Simple enough for any grown-up to run, and the close-up mode handles the little details.
Step 11. Share every post on Pinterest and one more place

A post nobody sees is a letter nobody mails, so every post gets shared the day it goes live. Pinterest first, because moms search there the way they search on Google, and a pin can send readers for months after you make it. Make one tall pin per post with the title on it, link it to the post, and write a description in plain words a mom would actually search for. Then pick one more place and only one: the Facebook group where you already belong, or Instagram if that is where your friends are.
Do this for every post, the same way, and keep a tiny list of where each post went. And give each post time. A pin made today might find its readers in three weeks. Sharing is a slow tap, not a splash, and the moms who keep tapping are the ones whose blogs grow.
Step 12. Earn your first dollar, then build the routine

Earning starts small, and that is normal. The first dollar usually comes from an affiliate link, a link to a product you genuinely use, where you earn a small commission when a reader buys through it. Later come ads, which need traffic, and sponsored posts, which need a rate. The most mom-shaped income is a printable pack you design once and sell again and again. The Epson EcoTank ET-2800 printer is the big-ticket tool for that job, a cartridge-free printer with refillable ink tanks.
Then protect the routine, because a blog on top of new parenthood is a lot, and the week will take whatever you do not defend. One writing window a week, kept like an appointment, and one post a week, or one every two weeks. When the routine starts to squeeze, read our Mom Burnout and Tips for How to Deal With It guide before you quit, and talk to your partner about what the blog needs; our Marriage Advice For New Parents has the longer version.

Epson EcoTank ET-2800 Printer
A cartridge-free printer with refillable ink tanks, for activity sheets, homework, invitations, and school forms without the ink panic.
Want the Workbook Version of These 12 Steps?
The MamaKinder Mom Blog Starter Workbook turns these 12 steps into 30 fill-in pages: a why worksheet, a niche picker, a 10-post planner, and a first-90-days tracker. It is still being put together, so there is nothing to buy yet and no price set. The 12 steps above are the complete free version.
Shop This Post
| Product | What it is for | |
|---|---|---|
| Intelligent Change The Five Minute Journal | Capturing blog ideas each morning (step 8) | Check Price |
| Fujifilm Instax Mini 12 Instant Camera | Printing real-life photos for your posts (step 10) | Check Price |
| Epson EcoTank ET-2800 Printer | Printing printable packs and activity sheets (step 12) | Check Price |
Frequently Asked Questions
How much does it cost to start a mom blog? About $10 to $15 for a domain for the first year, plus a few dollars a month for beginner hosting. A free theme and the four free plugins in step 7 are enough to start. That is the whole honest budget.
How long before a mom blog makes money? Longer than the income screenshots suggest. Most mom blogs earn their first small affiliate commission after a few months of steady posting, and meaningful ad income usually needs real traffic, which takes six months to a year of one post a week.
Do I need to be a good writer to start a mom blog? No. You need to be clear and honest. Short paragraphs, one idea per post, and the habit of reading your draft out loud once will carry you further than fancy sentences. Your voice gets stronger with every post, and readers come back for the voice, not the vocabulary.
What if I only have an hour a day? Then you have enough. One hour is a section of a post, or a pin and a share, or a title list for the week. The blogs that last are the ones with one protected hour, used most days, for a long time. Start with step 1 tonight, in twenty minutes.
Should I use WordPress or a free platform? If the blog is a diary for family, a free platform is fine. If you want to earn from it one day, or own your work outright, self-hosted WordPress is the choice the long-running mom blogs made. It costs a few dollars a month, and the blog stays yours.
Start Tonight, Not Someday
You do not need a perfect niche, a perfect name, or a perfect first post. You need step 1 tonight, twenty minutes with a notebook, and step 2 tomorrow. Twelve steps, one at a time, in the cracks of a day that belongs to small people. Start with your why, and let the rest follow in order.