Thanksgiving Painted Pumpkin Rock Ideas: 7 Fall Crafts
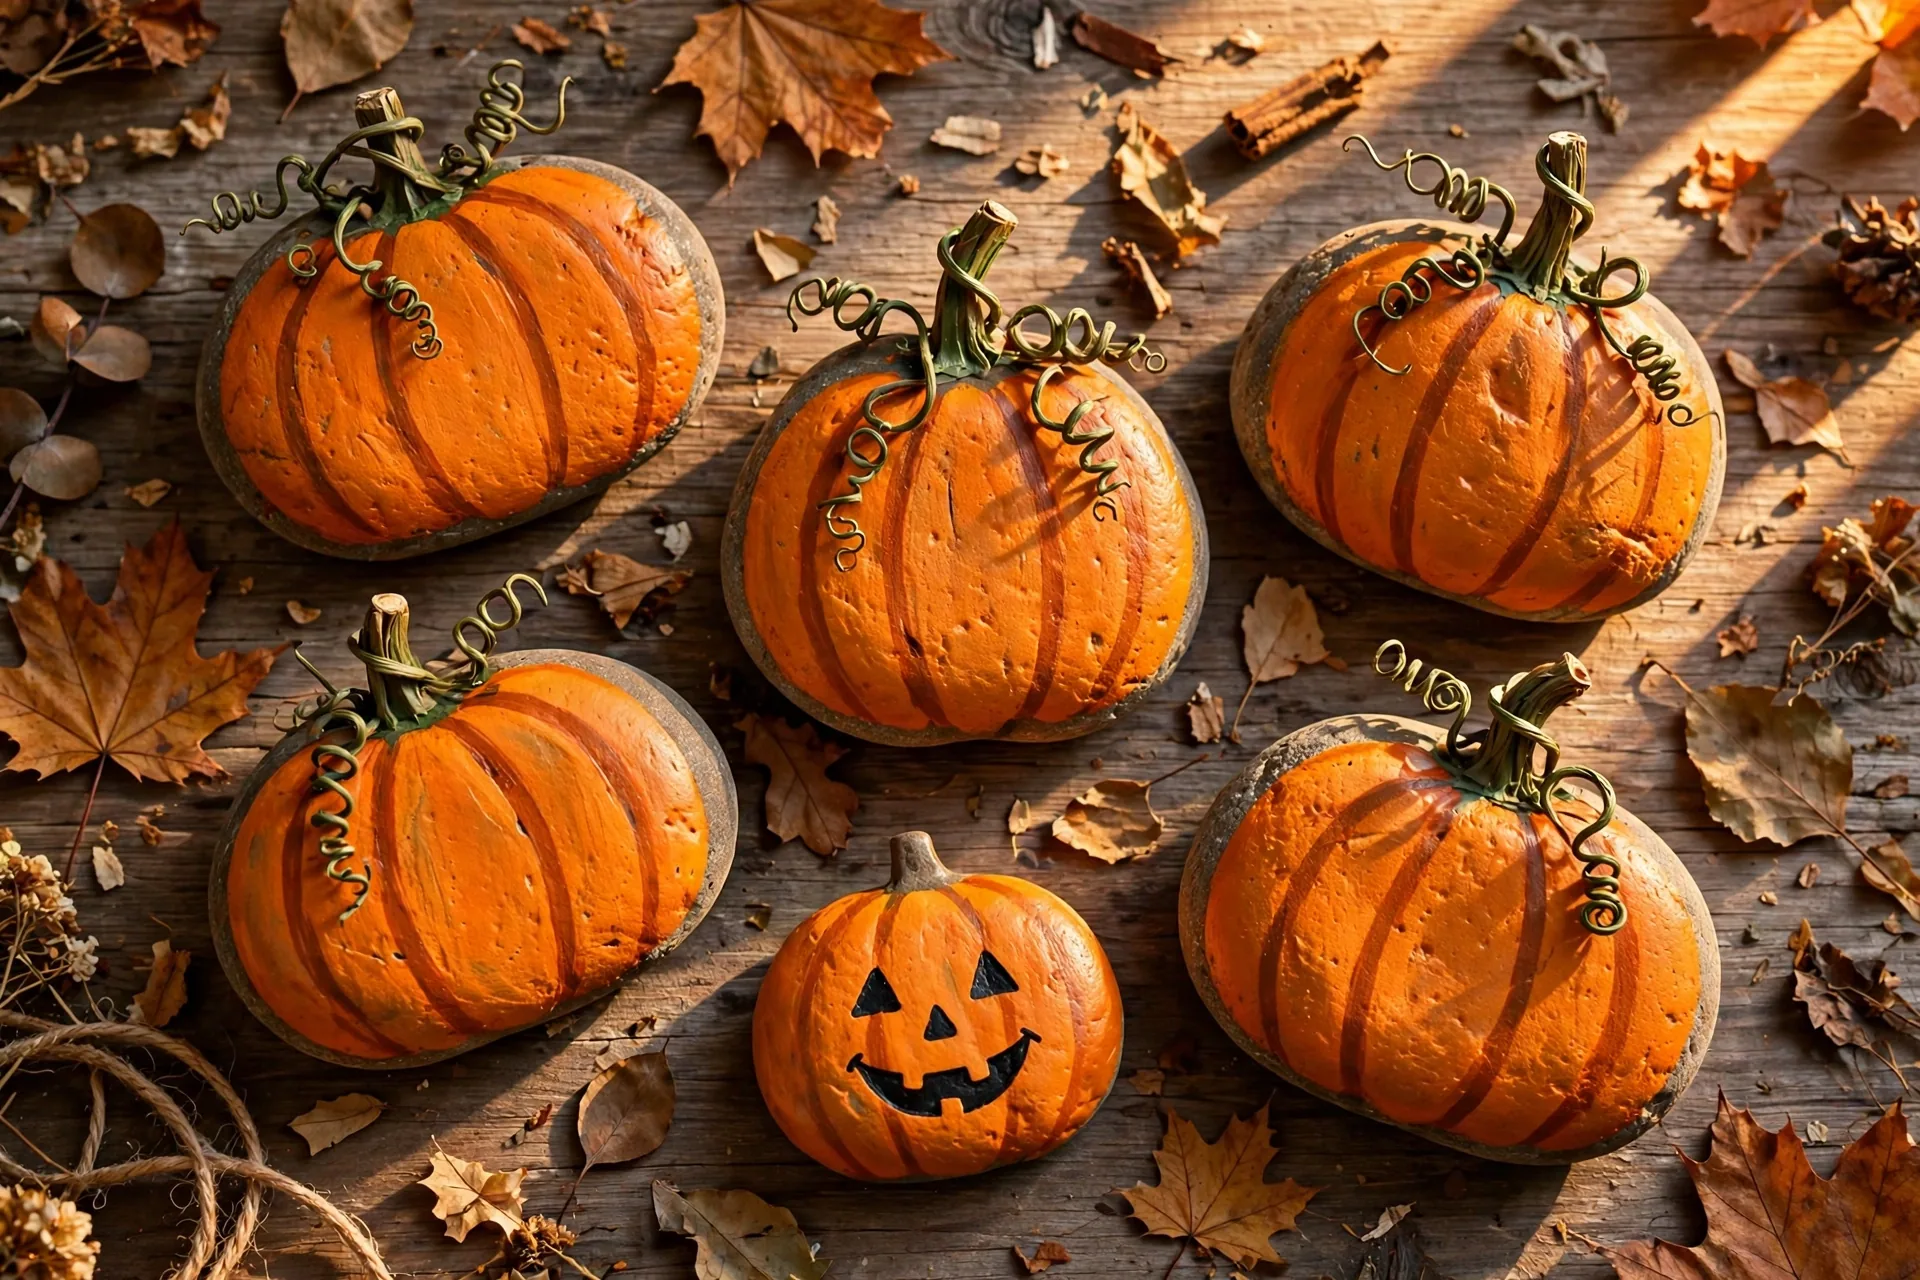
Last October my four-year-old asked why the pumpkins on our porch had gone “all squishy.” Real pumpkins rot, real pumpkins need carving knives, and real pumpkins are finished by December. So we painted pumpkins on rocks instead, and two Thanksgivings later the same little stone pumpkins still line our mantel.
Below: how to pick rocks that already look like pumpkins, the three-step painting method that works on any stone, and 7 rock pumpkin crafts your family can actually finish this weekend. Most of them take about twenty minutes of real painting, plus drying time while the pie cools.
Heads up: this post contains affiliate links. If you buy through them, MamaKinder may earn a small commission at no extra cost to you. It helps keep these guides free.

Why Rock Pumpkins Beat Real Pumpkins (Sometimes)
I still buy real pumpkins for the porch steps. But for everything a family actually does with pumpkins, rocks quietly win:
No rotting. A painted rock pumpkin looks the same on Thanksgiving, Christmas, and next Thanksgiving. Zero squishy surprises in the bushes in January.
No carving. The two-year-old cannot carve a pumpkin, but she can absolutely paint one orange. Every kid gets the same project, at the same table, with zero knives.
They do jobs. A real pumpkin cannot hold a napkin down on a breezy porch, sit in a coat pocket for a kindness-rock walk, or wait on the mantel all year. Rocks can.
They are free. Your garden, a walk to the park, a handful from a landscaping pile (ask first). If rock hunting is not your life, there is a shortcut bag below.
Step One: Pick Rocks That Already Look Like Pumpkins
Most river stones are already pumpkin shaped. You are not inventing the shape, you are noticing it.
Round and slightly flat: the classic mini pumpkin. Paint the face right on the flat top, stem on the narrow end.
Tall and oval: the jack-o-lantern rock. Tall stones hold faces best because there is room for eyes, a nose, and a mouth without crowding.
Clusters of small stones: the patch set. Grab five to seven small ones and they become a pumpkin patch all by themselves.
Smooth beats bumpy. Paint slides on like butter over smooth river stones. Rough, pitted rocks drink paint and show every bump. Give each rock a quick wash in warm soapy water, rinse, and let it dry fully in the sun before you paint. Wet stone repels paint the way a wet sidewalk repels chalk.
If you would rather skip the hunt, this bag of DALTACK painting rocks is the shortcut: twenty natural flat river rocks in the 2 to 3 inch sweet spot, already smooth and ready to wash, dry, and paint.
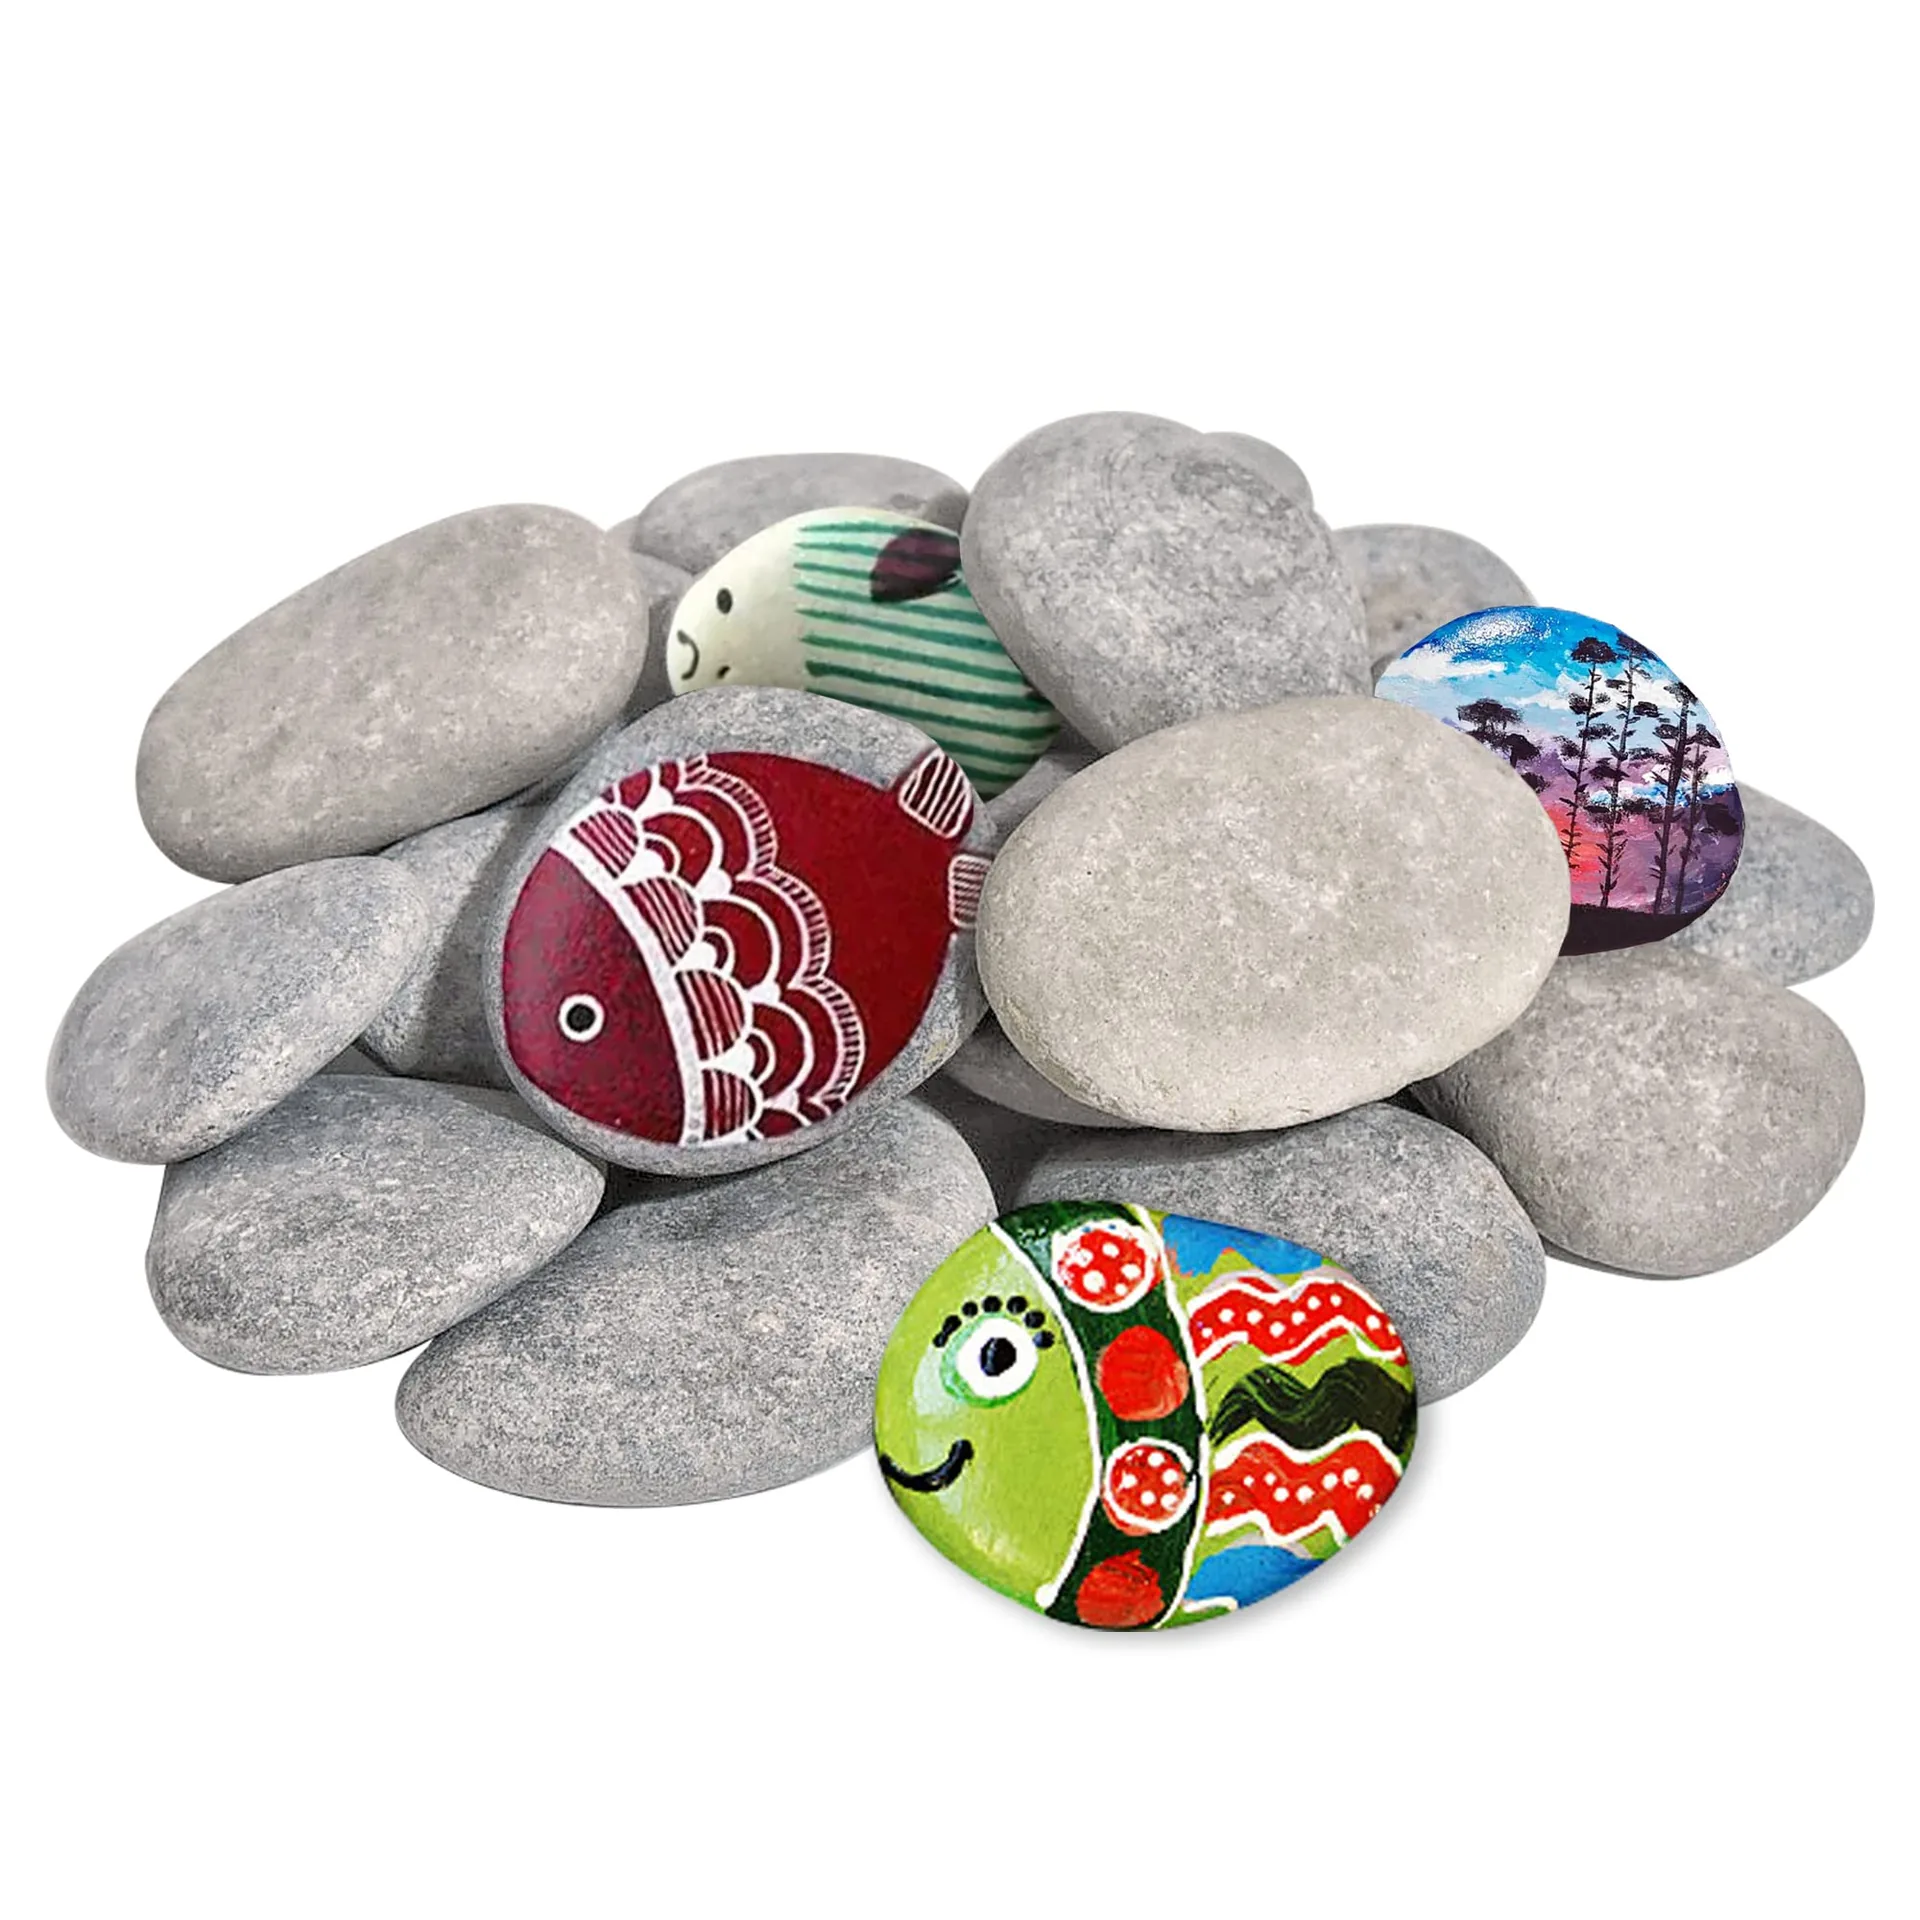
DALTACK Rocks for Painting — 20 Pcs, 2–3 Inches
The shortcut bag: natural flat river rocks in the 2–3 inch sweet spot, smooth for little hands and ready to wash, dry, and paint. Twenty rocks covers all 7 crafts with plenty of spares.
The 3-Step Pumpkin Method (Works on Any Rock)
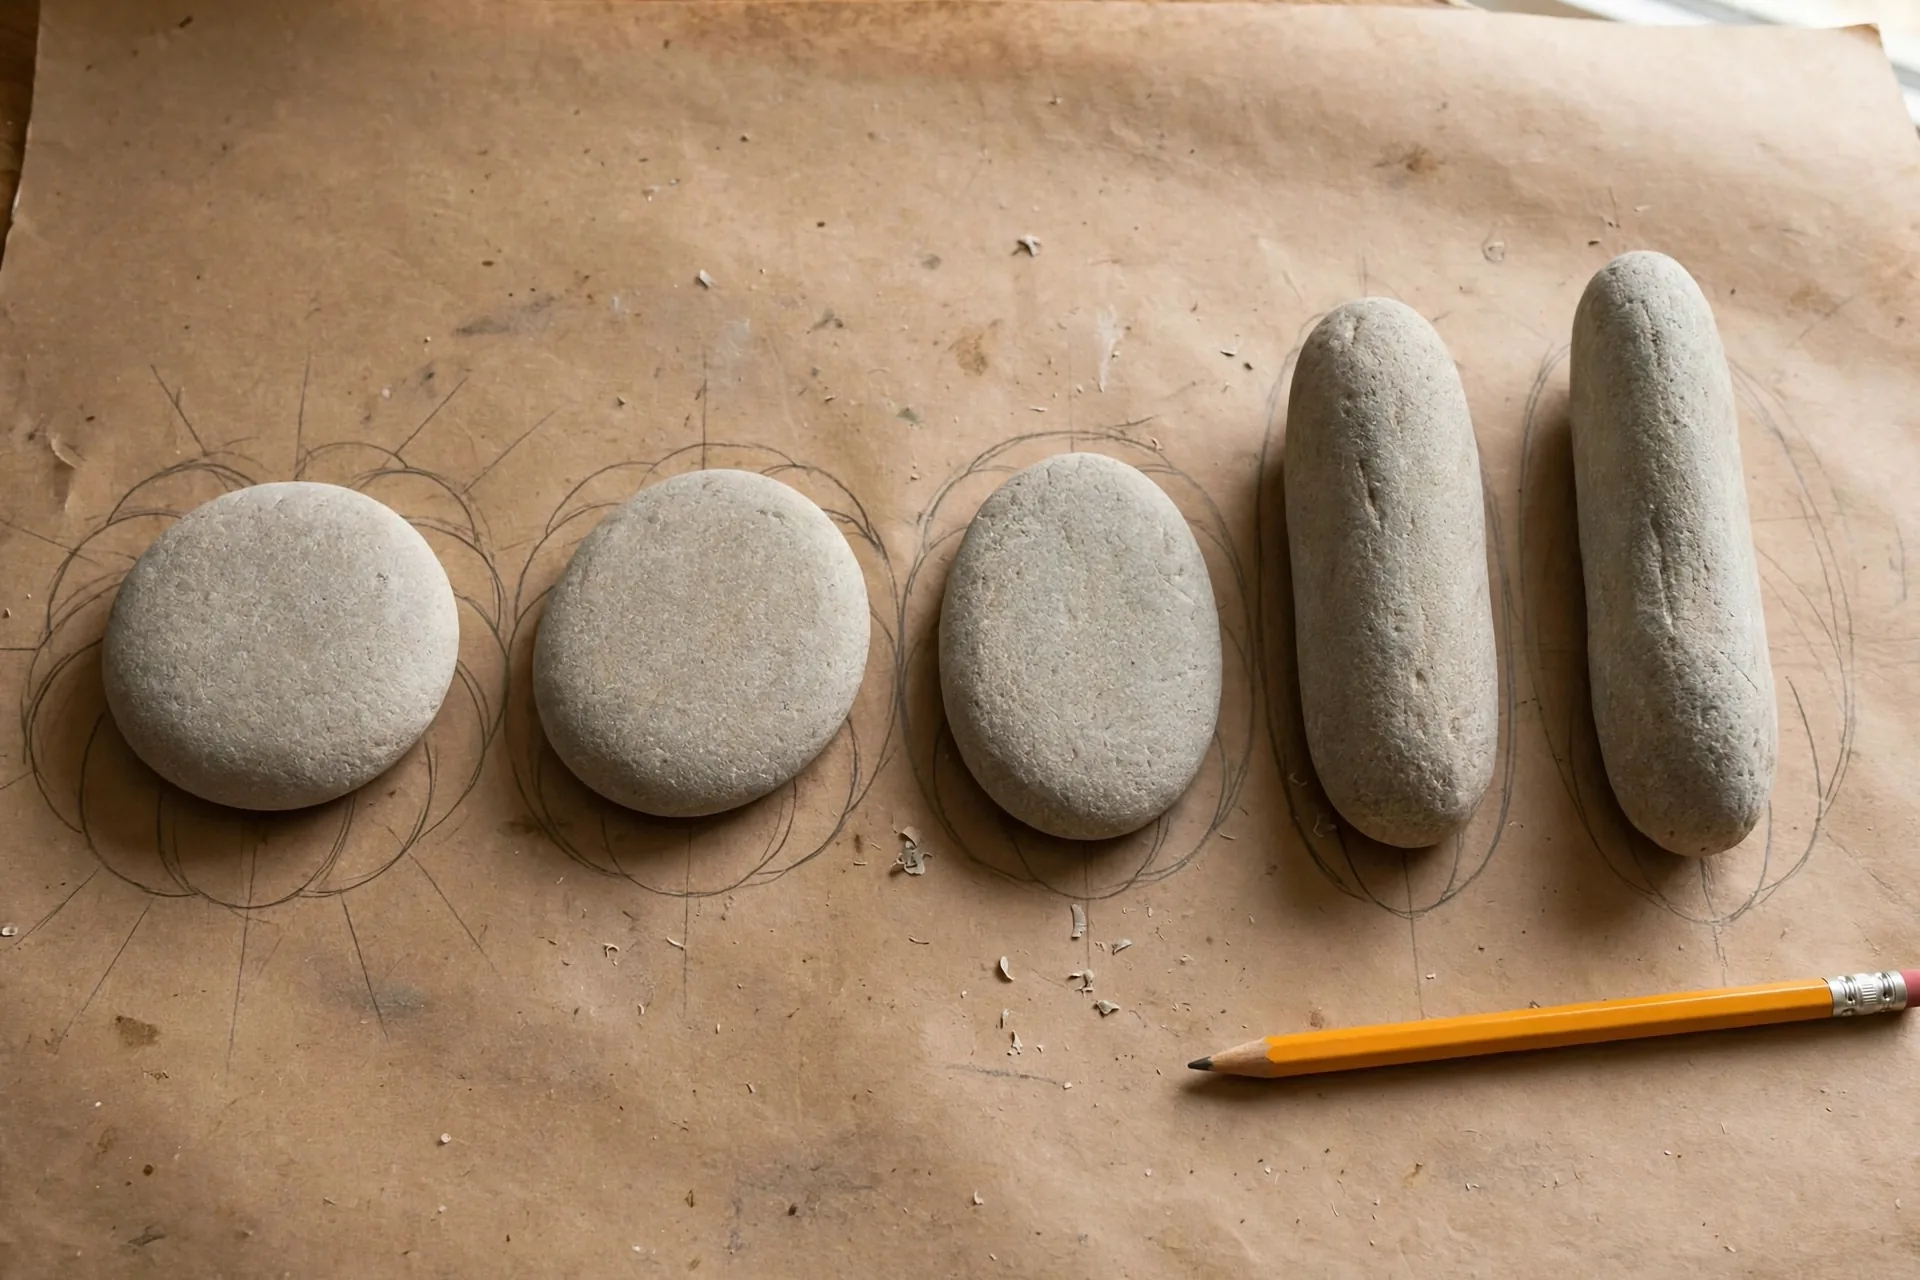
Every idea below starts the same way. Learn this once and you can improvise forever.
Step 1: Sketch the ribs in pencil. Start with an oval near the middle of the rock. From its sides, draw arches curving out to the right, two or three of them. Then mirror the same arches to the left. The lines can overlap a bit. The key: every rib’s point should aim toward the middle, like orange slices meeting at the center.
Step 2: Paint dark, then fill light. Trace the ribs with a darker orange (or brown-orange). Then fill between them with a slightly lighter orange, staying as close to the rib lines as you can. Two thin coats look smoother than one thick coat. Let the first coat dry fully before the second, about 15 to 20 minutes.
Step 3: Stem, vine, and optional face. Paint a short brown stem at the top, overlapping the orange a little. Add a curly green vine with one looping stroke. Faces go on last, after everything is dry: triangle eyes, a dot nose, a smile, or nothing at all. Plain pumpkins are beautiful.
A grown-up handles the pencil sketching for little ones. Kids four and up can usually paint inside penciled ribs, and the two-year-old in your house gets her own rock to paint solid orange, stem included, no ribs required.
Match the Supplies to the Age
One craft, three age realities:
Toddlers (my two-year-old): Crayola washable kids’ paint and chunky brushes. It washes off hands, clothes, and the table with soap and water. Skip the fine details, skip the tiny rocks, and keep her rocks fist-sized or bigger so nothing small goes near a mouth.
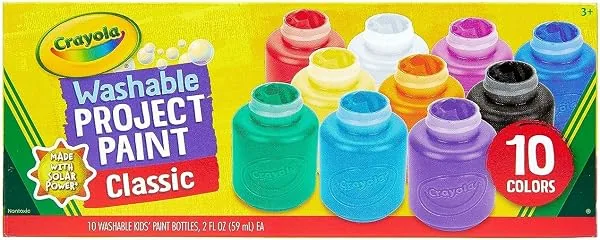
Crayola Washable Kids’ Paint — 10 Colors
The only paint that touches little hands in this guide: it washes off with soap and water when the masterpieces are done. A grown-up still stays at the table for every age.
Preschoolers (my four-year-old): acrylic paint pens are the upgrade. They draw on stone like markers, there are no water cups to spill, and the fine tip makes stems and faces possible. A grown-up clicks the caps shut and keeps the pens at the table.

ARTISTRO Acrylic Paint Pens
The pens for the detail work below: they draw on stone like markers with no water cups to spill. Best with a grown-up at the table; click the caps shut between uses.
Seven and up, plus grown-ups: the full method above, with black fine-liner paint pens for faces and white dots for highlights. This is the age where doodle pumpkins and game sets become genuinely relaxing instead of chaotic.
A grown-up stays at the table for every age. Rocks are heavy, paint pens are permanent on fabric, and someone has to refill the snack bowl.
The 7 Pumpkin Rock Crafts
1. Classic Mini Smiling Pumpkins
The gateway rock. Follow the 3-step method, then give each pumpkin a face with a fine paint pen: triangle eyes, a dot nose, a big smile. Do five or six and cluster them on a shelf or windowsill.
The smile is the whole trick. A plain orange rock reads as “orange rock.” The same rock with two triangle eyes reads as a pumpkin, instantly, to every age. My four-year-old named hers; the two-year-old’s faceless one is, in her words, “baby pumpkin,” and it counts.
2. Pumpkin-Patch Rock Set

Paint five to seven mini pumpkins and arrange them in a wooden tray, a shallow basket, or a clean shoebox lined with brown paper. Tuck curled paper leaves between them with one gratitude word on each: thankful, cozy, family, pie, home.
This is the mantelpiece idea. Ours lives on the fireplace shelf from October through November, and it takes about ten minutes to set up once the rocks are dry. For Thanksgiving dinner, move the tray to the sideboard so guests see it on the way in.
3. Grateful Name Rocks
Give every Thanksgiving guest their own pumpkin rock with their name painted on it in white paint pen. Set one on each napkin.
This doubles as the place card and the party favor, and nobody at the table has ever met a place card they could keep in a coat pocket. Paint the name across the middle of the pumpkin, big and plain, so even a wobbly hand-lettered name reads fine from a seat away. Kids love hunting for their own rock before they sit down, which buys you a genuinely quiet five minutes while the rolls finish.
4. Black-and-White Doodle Pumpkins
For the grown-ups and the detail-loving kids: paint the pumpkin solid white (two coats), let it dry fully, then doodle the ribs, stem, and vine in black paint pen. Add tiny dot patterns along the ribs, a curly vine, and a few mini stars.
These look like farmhouse pottery on a shelf and photograph beautifully for holiday cards. They take longer than the smiling pumpkins, more like thirty minutes of quiet work, and that is the point: this is the Thanksgiving-eve craft for after the kids are in bed.
5. Pastel Watercolor Pumpkins
A trick I borrowed from the painted-rock world: pumpkins do not have to be orange. Paint three colors per pumpkin, no more: teal with white ribs, blush pink with cream, soft gray with white. Keep the brushstrokes loose and let colors blend a little at the edges for that watercolor feel.
Three colors per rock keeps it genuinely easy, and the pastel set looks lovely mixed in with the classic orange ones on a white tablecloth. They read “Thanksgiving” because of the shape, not the color, which is a fun surprise for guests.
6. Googly-Eye Silly Faces
The four-year-old’s favorite, guaranteed. Paint the pumpkins orange and let them dry completely. Then, instead of painted faces, glue on self-adhesive googly eyes. One big pair, two tiny pairs, one eye plus a drawn smile: the combinations are endless and every single one is funny.
Self-adhesive eyes are a 3-and-up craft with a grown-up at the table (small parts). Under-threes get big eye stickers instead. No glue bottles needed if you use the self-adhesive kind.
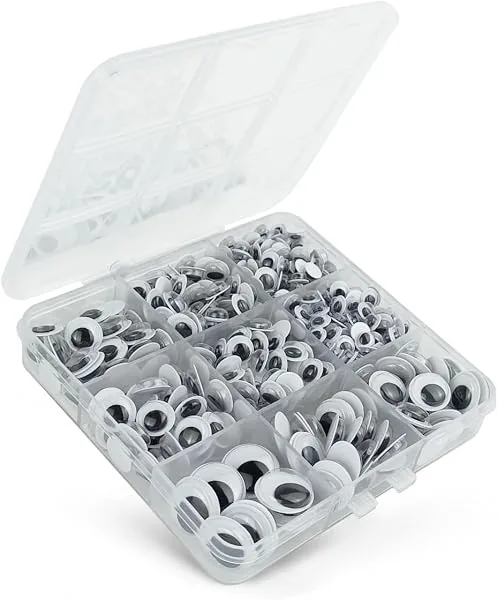
Googly Eyes — 520 Pieces, Self-Adhesive
The eyes behind the silliest pumpkins: 520 self-adhesive googly eyes in assorted sizes. Small parts, so this is a 3-and-up craft with a grown-up at the table; swap in big eye stickers for under-3s.
7. Pumpkin Tic-Tac-Toe Set
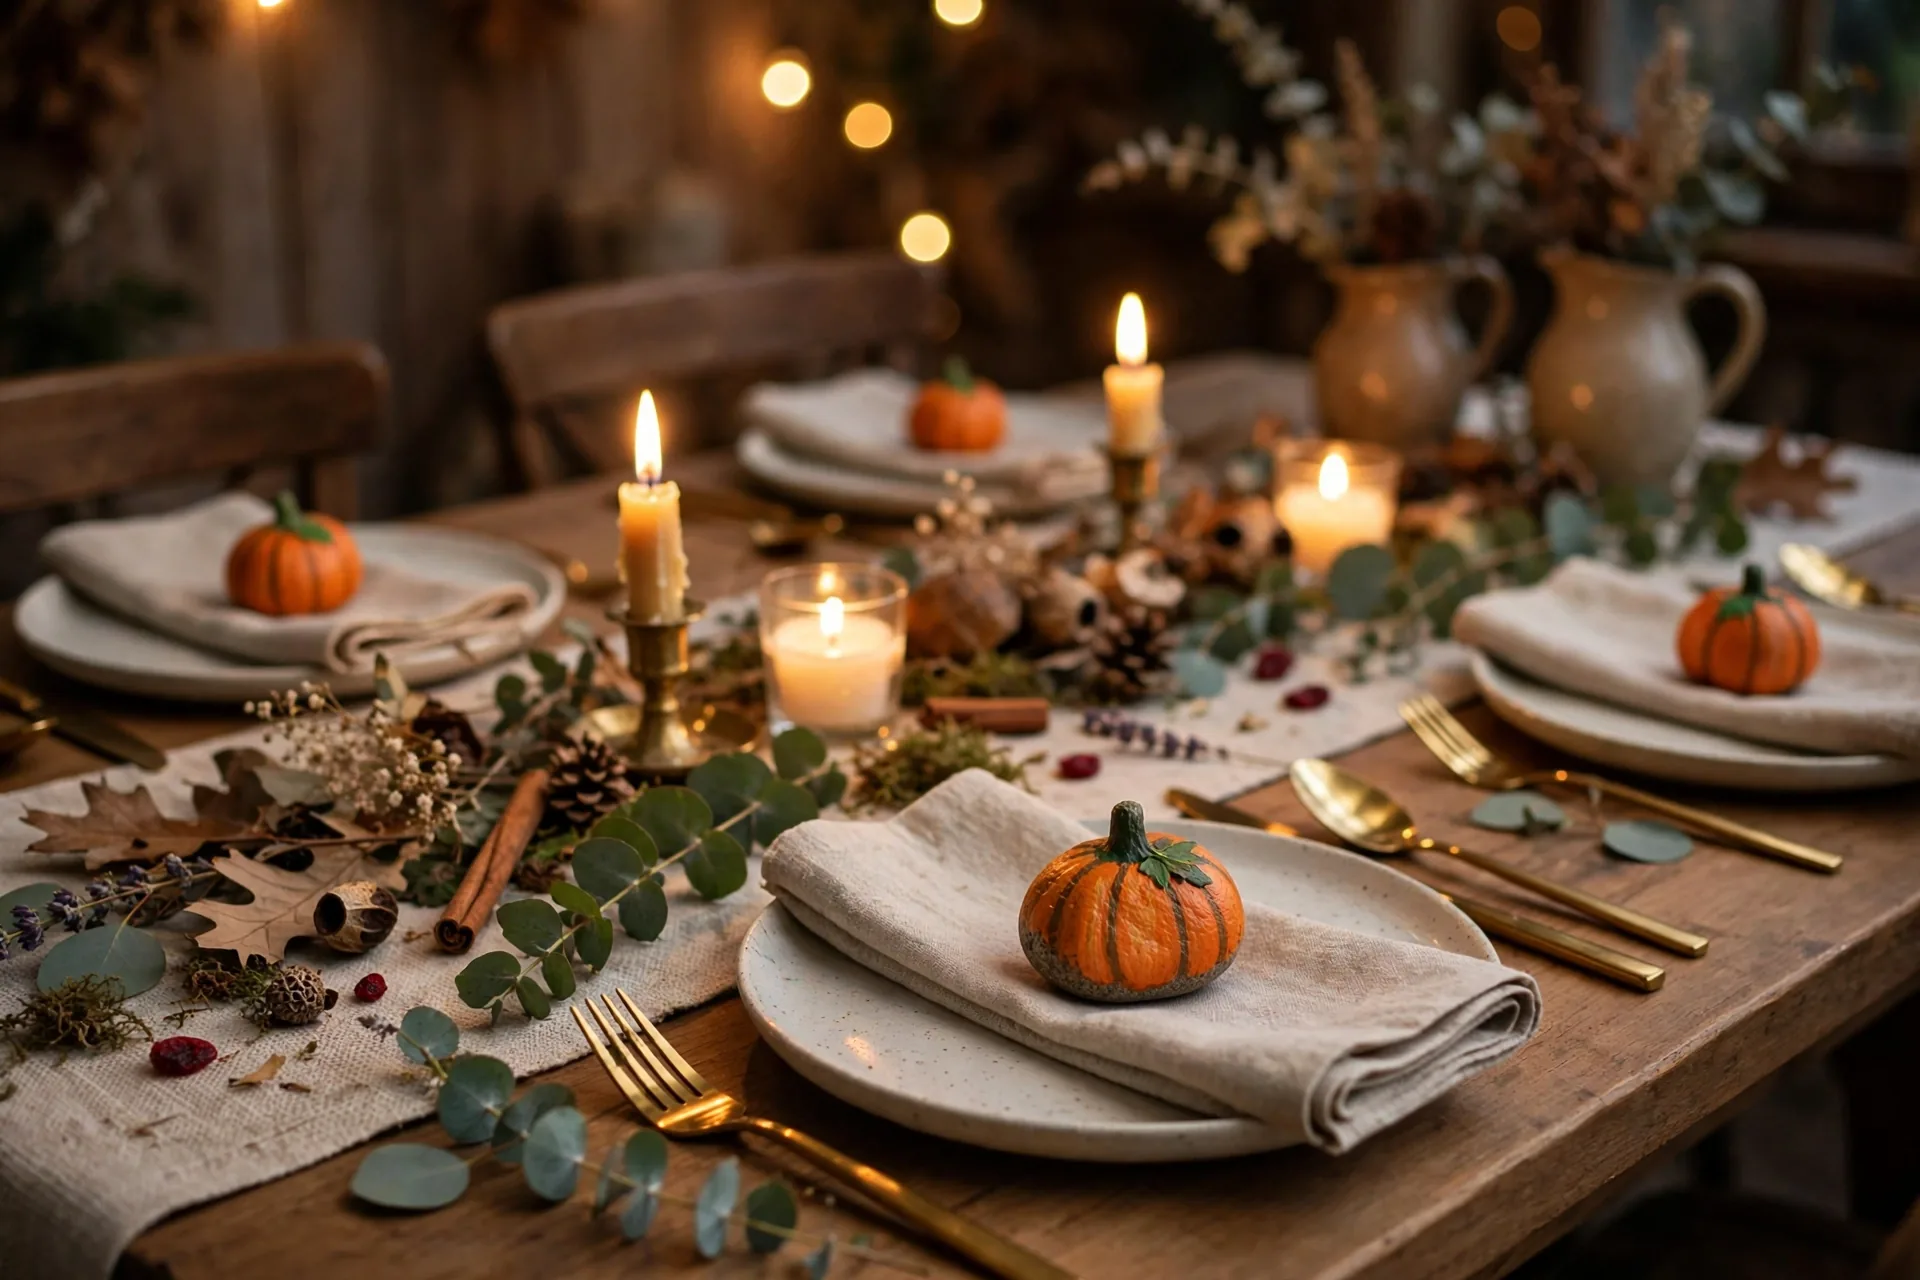
Paint five mini pumpkins and four golden leaves (simple leaf shape, one color, paint pen veins). Draw a tic-tac-toe grid with a black paint pen on a square of cardboard, a cloth napkin, or the lid of the rock bag. Pumpkins versus leaves, best of three, played while the turkey rests.
This is the dead-hour game. Between arrival and dinner there is always a stretch where the kids are done being cute and the food is not done. A pocket-sized game set painted by the kids themselves fills it perfectly, and it fits in a coat pocket for the car ride home.
Where to Put Them: 5-Minute Display Ideas
Napkin weights. One pumpkin rock on each folded napkin. On a breezy porch this is functional, not just pretty.
The mantel row. Line up the patch set along the mantel or a bookshelf. Add one flameless tea light and you are done decorating for the month.
The gratitude jar. Drop the patch-set rocks in a glass jar and let guests pull one out at dinner to say what the word means to them. The rocks get handled, admired, and re-homed to coat pockets.
The porch planter. Nestle a few sealed pumpkins into the soil of your fall planters. They survive rain, frost, and the neighborhood cat.
The kindness walk. Take the extras on a Thanksgiving walk and leave them on park benches and low walls for strangers to find. Paint “happy thanksgiving” on the back of one or two before you hide them.
Sealing and Care (So They Last Years)
Indoor rocks need nothing: acrylic paint on dry stone is plenty durable on a shelf. Outdoor and porch rocks get a clear sealer, because sun fades orange fast.
Krylon’s UV-resistant clear coating is what the rock-painting world reaches for: it sprays on as a protective gloss finish, and the built-in UV resistance helps porch designs hold their color in the sun instead of fading within the week. Grown-ups spray outdoors only, following the can’s directions, and the rocks dry fully before they go back on display. Seal at least 24 hours after painting, never the same afternoon.
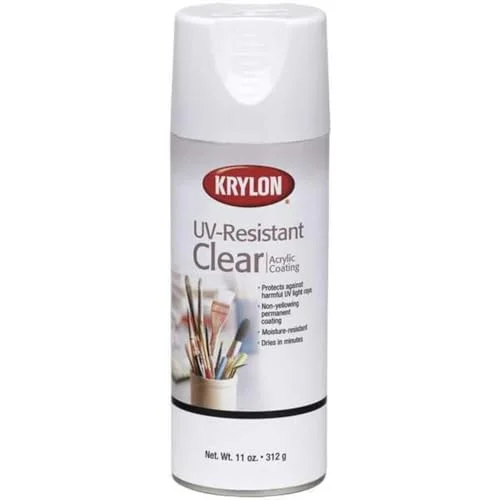
Krylon UV-Resistant Clear Coating Spray
The clear sealer for any pumpkin rock living outdoors. Krylon’s coating sprays on as a protective gloss finish, and the built-in UV resistance helps porch designs hold their color in the sun. Grown-ups spray outdoors only, following the can’s directions.
Wash painted rocks with a damp cloth only, never a soak, and they will look the same next Thanksgiving.
Shop This Post
Everything used in this guide, in one place:
| Product | Used For | Price |
|---|---|---|
| DALTACK Rocks for Painting — 20 Pcs |
Smooth river rocks in the pumpkin sweet spot, the shortcut bag | Check Price |
| Crayola Washable Kids’ Paint — 10 Colors |
Washable paint for little hands, toddler through preschool | Check Price |
| ARTISTRO Acrylic Paint Pens |
Detail work: stems, faces, veins, no water cups | Check Price |
| Googly Eyes — 520 Pieces, Self-Adhesive |
Silly faces for craft 6, no glue bottles | Check Price |
| Krylon UV-Resistant Clear Coating Spray |
Sealing outdoor and porch pumpkins against sun | Check Price |
Frequently Asked Questions
What is the best paint for pumpkin rocks?
For little hands: washable kids’ paint, which rinses off with soap and water. For detail work like stems, vines, and faces: acrylic paint pens, which draw on stone like markers. A grown-up stays at the table for both.
Do I need a white base coat?
Not for pumpkins. Orange covers stone well in two thin coats. A white base coat helps only on very dark rocks, where it keeps the orange bright. Pencil-sketch the ribs first either way.
How long do painted rocks take to dry?
Thin coats of acrylic paint dry to the touch in about 15 to 20 minutes. Paint details and faces only after the base is fully dry, and wait at least 24 hours before sealing.
Can painted pumpkin rocks stay outside?
Yes, if they are sealed. Give them a coat of UV-resistant clear sealer (grown-ups spray outdoors, following the can’s directions) and they hold their color through rain and porch sun. Unsealed rocks are fine indoors for years.
Where do I get rocks for painting?
Your garden, a park walk, or a landscaping supply pile (ask first, and never take rocks from protected natural areas). The shortcut is a bag of smooth painting rocks, like the DALTACK bag in the Shop This Post table.
Paint a Pumpkin That Never Rots
Seven crafts, one bag of rocks (or one good walk), and pumpkins that outlast the season. Start with the smiling minis, seal the porch crew, and hide one on your Thanksgiving walk for a stranger to find.
Our mantel pumpkins are on their third Thanksgiving now. The real ones lasted eleven days. Happy crafting, mama.
More Thanksgiving guides on MamaKinder